The perfect beginner-friendly mix for durable, stone-like planters
Hypertufa is loved by gardeners and DIY makers because it is strong, lightweight, and beautifully textured. But the secret to a great hypertufa pot is always the recipe. With the right ratio, your pots will be durable, easy to demold, and naturally stone-like.
Here is the simple recipe I use — tested, reliable, and ideal for both beginners and experienced makers.
🧪 The Basic Hypertufa Recipe (My Proven Ratio)
• 2 parts cement
• 1 part peat moss or coconut coir
• 1 part perlite
• 1 part sand
This combination gives you:
Strength (cement + sand)
Lightweight texture (perlite)
Natural stone look (peat/coir)
If you want an even lighter pot, reduce sand by 25%.
If you need a stronger pot for outdoor freezing conditions, increase cement by 10–15%.
🥣 Mixing Instructions
1. Combine all dry ingredients
Mix until the color is uniform and the perlite is evenly distributed.
2. Add water slowly
Your mix should feel like firm cottage cheese — not wet, not crumbly.
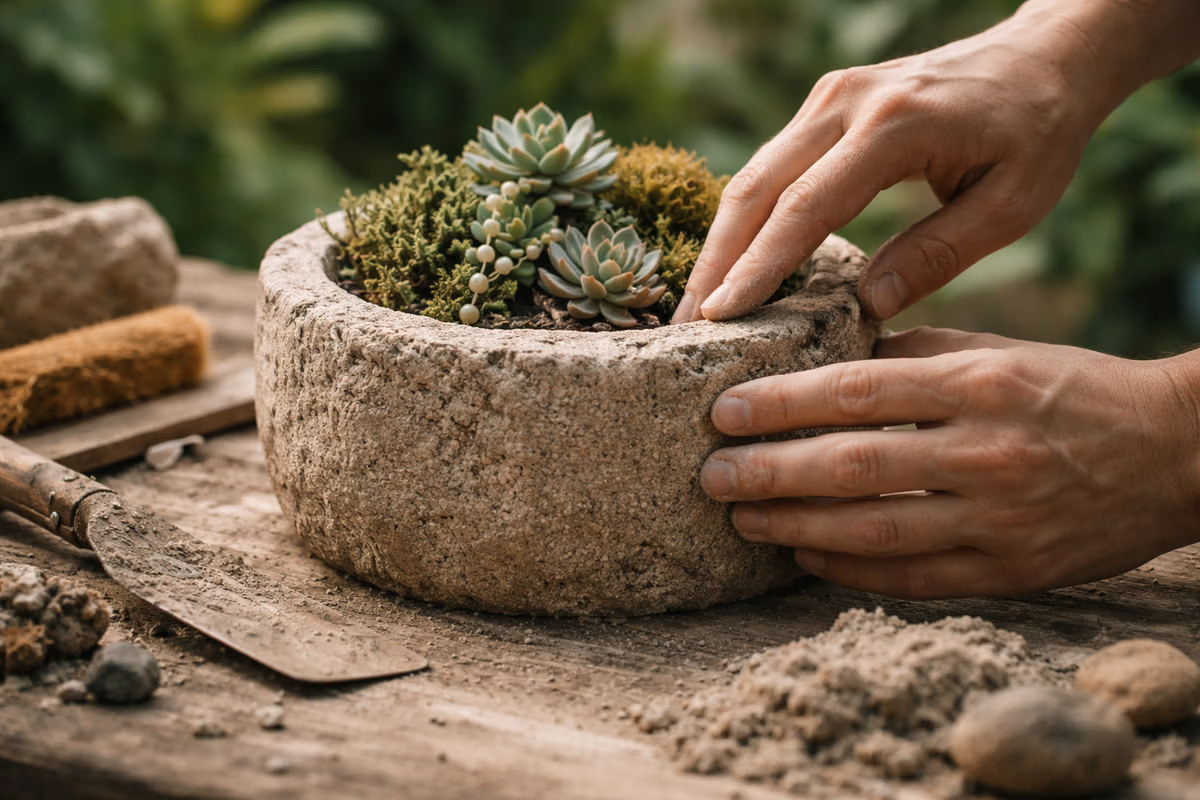
3. Press into the mold
Compact gently to remove air pockets without over-compressing the texture.
4. Let it set for 24–48 hours
Keep covered to retain moisture.
5. Cure for at least 20 days
Slow curing = stronger hypertufa.
Store wrapped or in a shaded place.
🌿 Optional Add-Ins (for texture & strength)
Fine gravel (stronger wall structure)
Fibers (extra crack-resistance)
Pigments (earthy stone colors)

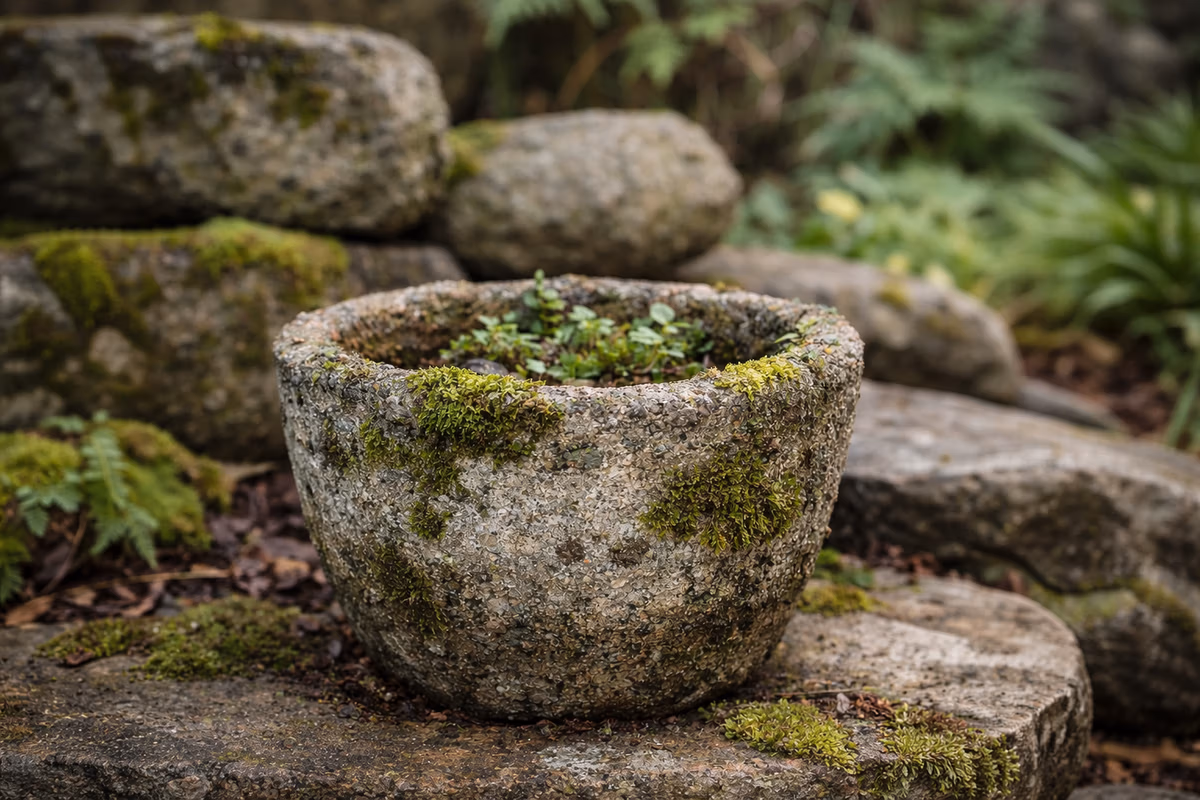
🪨 Why This Recipe Works
This ratio creates a pot that is:
Lightweight
Very durable
Frost-resistant
Easy to carve or texture
Naturally stone-like
It is the exact type of hypertufa used in many artisan workshops — including mine.
📌 Final Tips for Success
Do not rush the cure time
Avoid too much water
Always drill a drainage hole
Wear gloves — cement is alkaline
If you’d like to save this article for later, you can find it on Pinterest.