Introduction
Mixing hypertufa is easier than it looks — and once you understand the basics, you can create planters that are lightweight, strong, and full of natural texture.
In this guide, I’ll show you the exact step-by-step method used by many artisans (including me) to achieve a consistent, beautiful mix every time.
Whether you’re making your first pot or refining your technique, these steps will help you get predictable and reliable results.
🥣 Step-by-Step: How to Mix Hypertufa
Step 1 — Gather Your Materials
You will need:
Portland cement (Type I/II)
Peat moss or coconut coir
Perlite (fine or medium grade)
Water
A mixing bin or bucket
Gloves and mask (the mix is dusty)
Standard Ratio
The classic hypertufa recipe uses a 1:1:1 ratio:
1 part cement
1 part peat/coir
1 part perlite
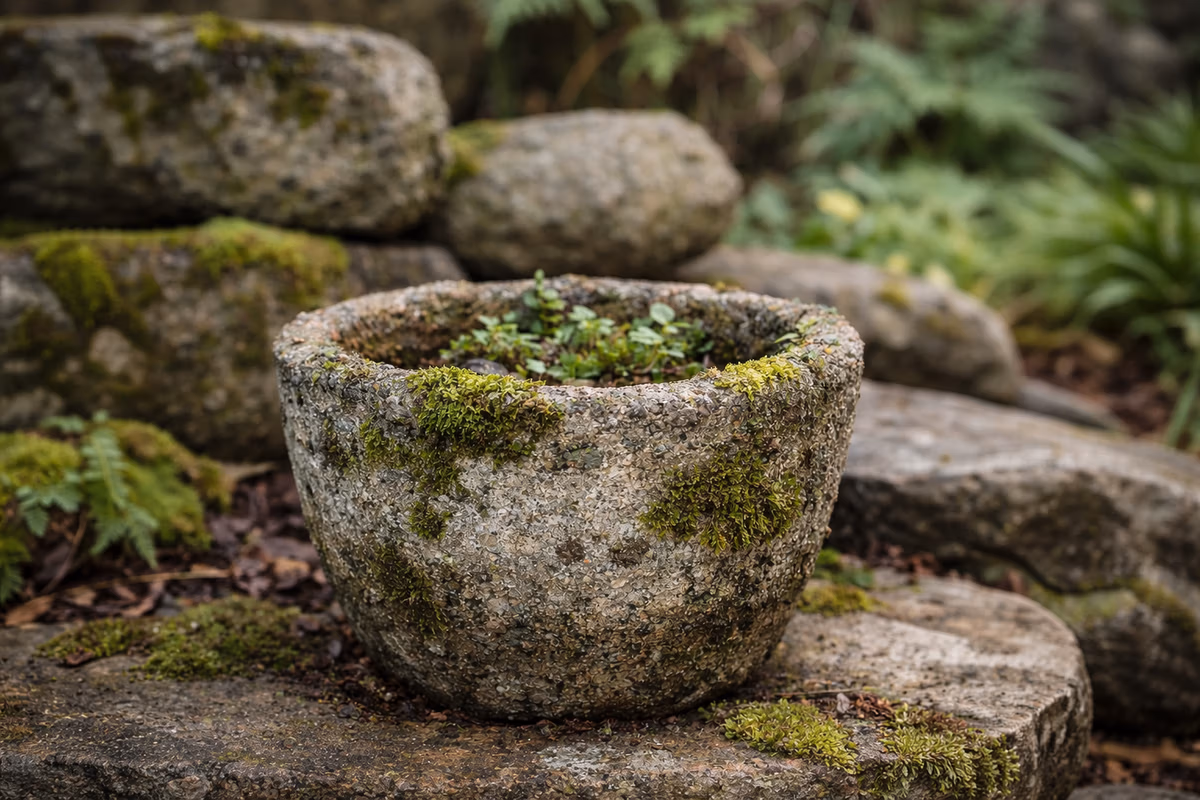
This ratio creates a light, porous, stone-like texture that is perfect for planters.
Step 2 — Mix the Dry Ingredients
Pour all dry components into your bin.
Break any clumps of peat or cement with your hands.
👉 Important : Mix the dry ingredients very well before adding water.
If the cement isn’t evenly distributed, your pot will have weak spots.
Your mix should look airy, crumbly, and uniform.
Step 3 — Add Water Slowly
Do not pour a lot of water at once.
Add water gradually and mix with your hands until the texture becomes similar to:
damp sand
or cookie dough
👉 The mix should hold its shape when squeezed but not drip water.
If your mix is too dry
Add a splash of water.
If your mix is too wet
Add a little peat or perlite to rebalance it.
Step 4 — Perform the “Squeeze Test”
Take a handful of the mix and squeeze it in your palm.
You want:
a compact ball
no water running out
no cracks opening immediately
This is the sign that the cement will bind properly.
Step 5 — Let the Mix Rest (Optional but Recommended)
Let the hypertufa mix rest for 3 to 5 minutes.
This allows the peat/coir to absorb water and helps your mix stay consistent while you work.
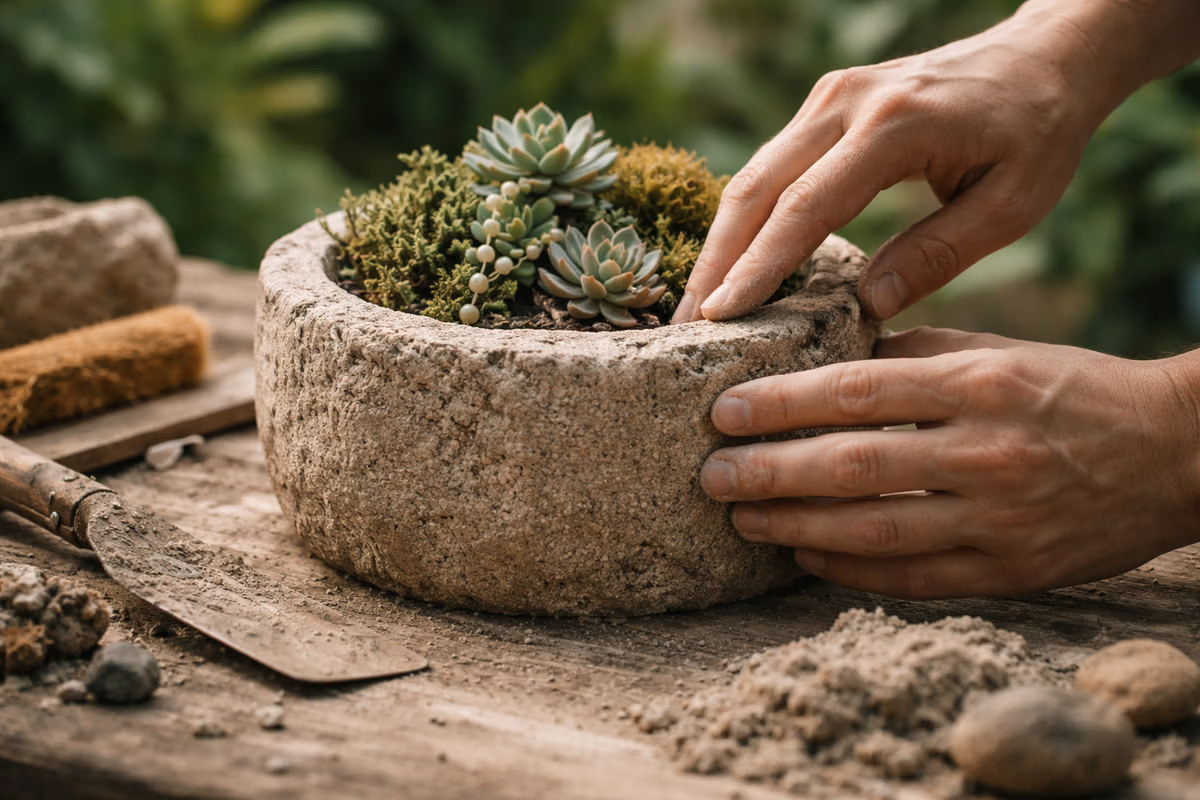
Step 6 — Start Filling Your Mold
Once the mix is ready:
press it gently into the mold
avoid compressing too much (you want air pockets for drainage)
keep the walls even all around
👉 At this stage, the material feels soft and workable — perfect for shaping and adjusting.
✔ Tips for Best Results
Tip 1 — Add Fibers for Strength
You can add:
polypropylene fibers
or fine fiberglass strands
This helps large planters resist cracking.
Tip 2 — Work in Small Batches
Hypertufa dries slowly but the mix becomes harder to shape after 20–30 minutes.
Tip 3 — Texture While It’s Soft
While the surface is still fresh, you can:
brush it
carve it
smooth it
tap it lightly for stone effects
🌿 Conclusion
Learning how to mix hypertufa is the foundation of every pot you will make.
Once you master the texture and water balance, you’ll be able to create pieces that feel natural, organic, and uniquely yours.
If you want to explore more techniques, check out my other blogs — new posts every week.
If you’d like to save this article for later, you can find it on Pinterest.