Introduction
If you’ve never made a hypertufa pot before, starting small is the best way to learn.
A small hypertufa pot is easy to handle, forgiving, and perfect for understanding how the material behaves.
In this simple project, I’ll walk you through each step, using basic tools and materials.
No experience required — just curiosity and a bit of patience.
Why Start With a Small Hypertufa Pot?
Making a small pot allows you to:
learn the right texture of the mix
understand how thick the walls should be
practice shaping without pressure
reduce waste if mistakes happen
Small projects build confidence — and confidence builds skill.
Materials You’ll Need
Prepared hypertufa mix (cement, peat/coir, perlite)
Two plastic bowls (one slightly smaller than the other)
Cooking spray or vegetable oil (as mold release)
Gloves
Plastic sheet or bag
Stick or pencil (for drainage hole)
👉 Tip: Choose flexible plastic bowls. They release much more easily after curing.
Step-by-Step: Making Your Small Hypertufa Pot
Step 1 — Prepare the Molds
Lightly coat the inside of the large bowl and the outside of the small bowl with oil.
This prevents the hypertufa from sticking.
Step 2 — Add the Base Layer
Press a layer of hypertufa mix into the bottom of the large bowl.
Aim for about 2–3 cm (¾–1 inch) thickness.
Use your fingers to press gently — firm, but not overly compacted.
Step 3 — Create the Drainage Hole
Insert a pencil, stick, or dowel straight down into the center of the base.
Leave it in place until the pot sets.
Good drainage is essential for healthy plants.
Step 4 — Build the Side Walls
Place the smaller bowl inside, centered.
Pack hypertufa mix evenly between the two bowls, working your way around.
Keep the wall thickness consistent.
👉 Tip: Uneven walls are the most common beginner mistake.
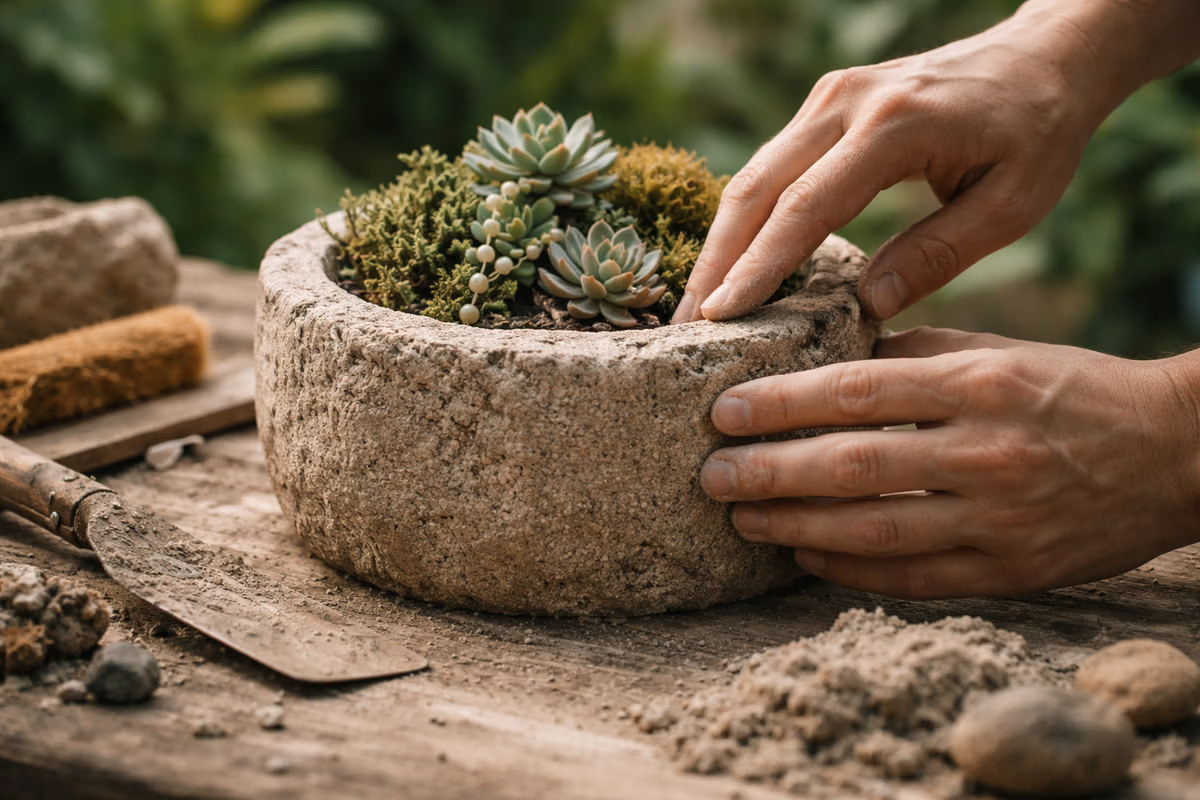
Step 5 — Smooth the Rim
Use your fingers to gently smooth the top edge.
Don’t worry about perfection — natural imperfections add character.
Curing the Pot
Cover the entire piece with plastic.
Let it rest in a cool, shaded area for 24–36 hours.
After this initial cure:
remove the bowls carefully
re-cover the pot
allow it to cure for several more days
Full curing and neutralization will be covered in upcoming blogs.
Final Thoughts
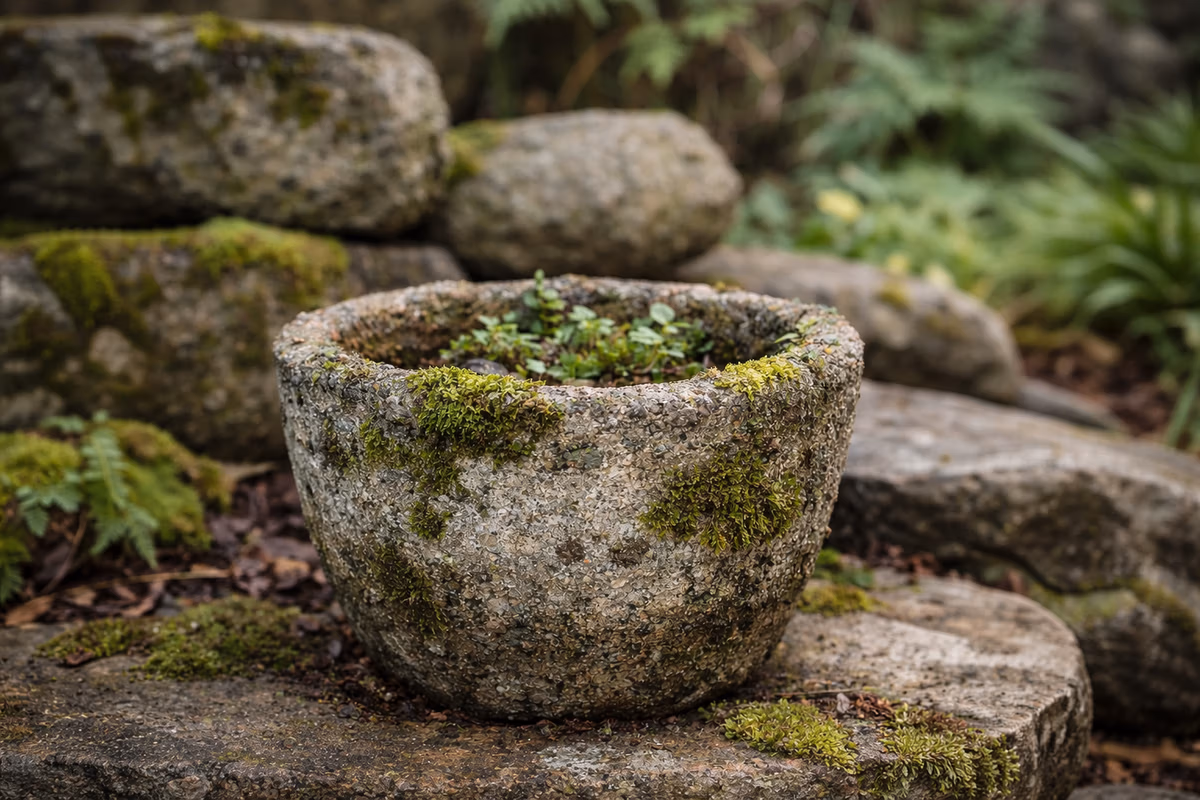
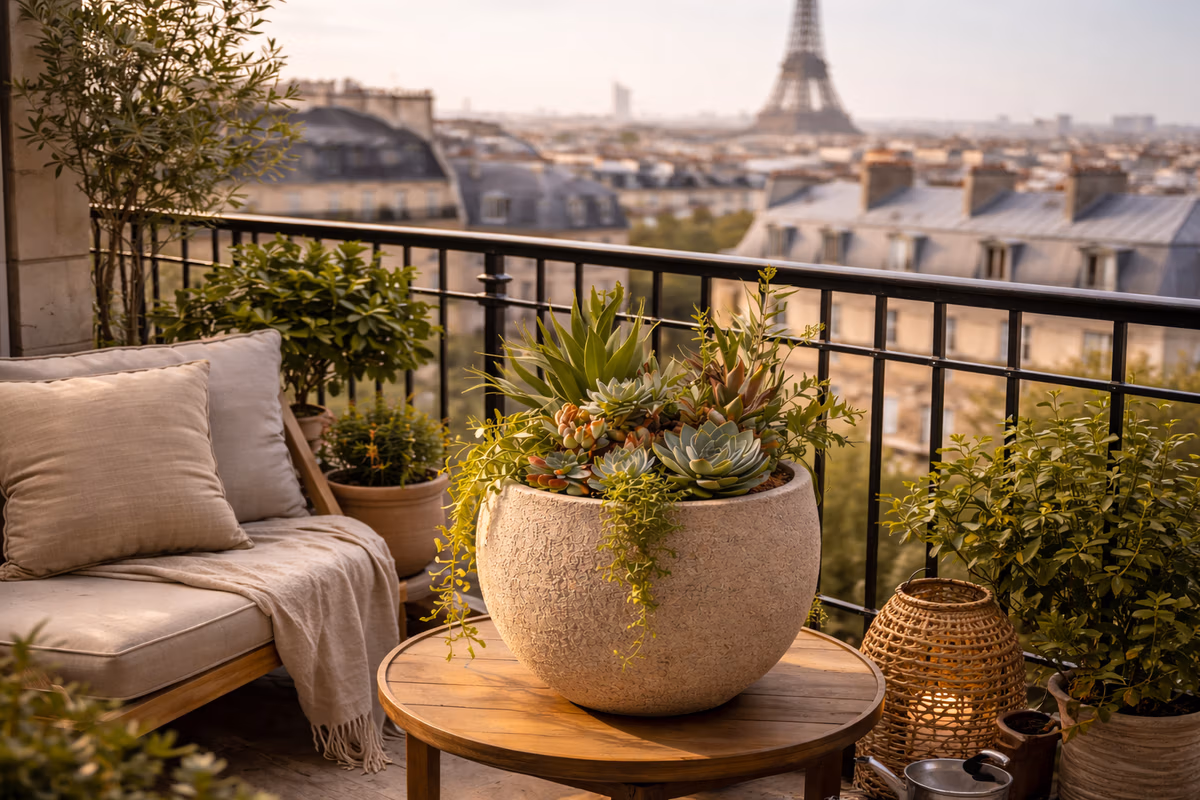
This small hypertufa pot may look simple, but it teaches everything that matters:
balance
patience
texture
restraint
Every artisan starts here.
Once you’ve made one small pot, the material no longer feels intimidating — it becomes familiar.
What’s Next?
In the next posts, we’ll explore:
adding texture
refining edges
making larger and more expressive forms
Each step builds naturally on the previous one.
If you’d like to save this article for later, you can find it on Pinterest.