How to Make Drainage Holes in Hypertufa Pots
Introduction
Drainage is not a detail — it’s essential.
No matter how beautiful a hypertufa pot may be, without proper drainage, plants will struggle and roots will suffer.
The good news is that drainage holes in hypertufa are easy to make, as long as you choose the right moment and the right method.
In this guide, I’ll show you how to create clean, effective drainage holes in hypertufa pots, step by step.
Why Drainage Matters
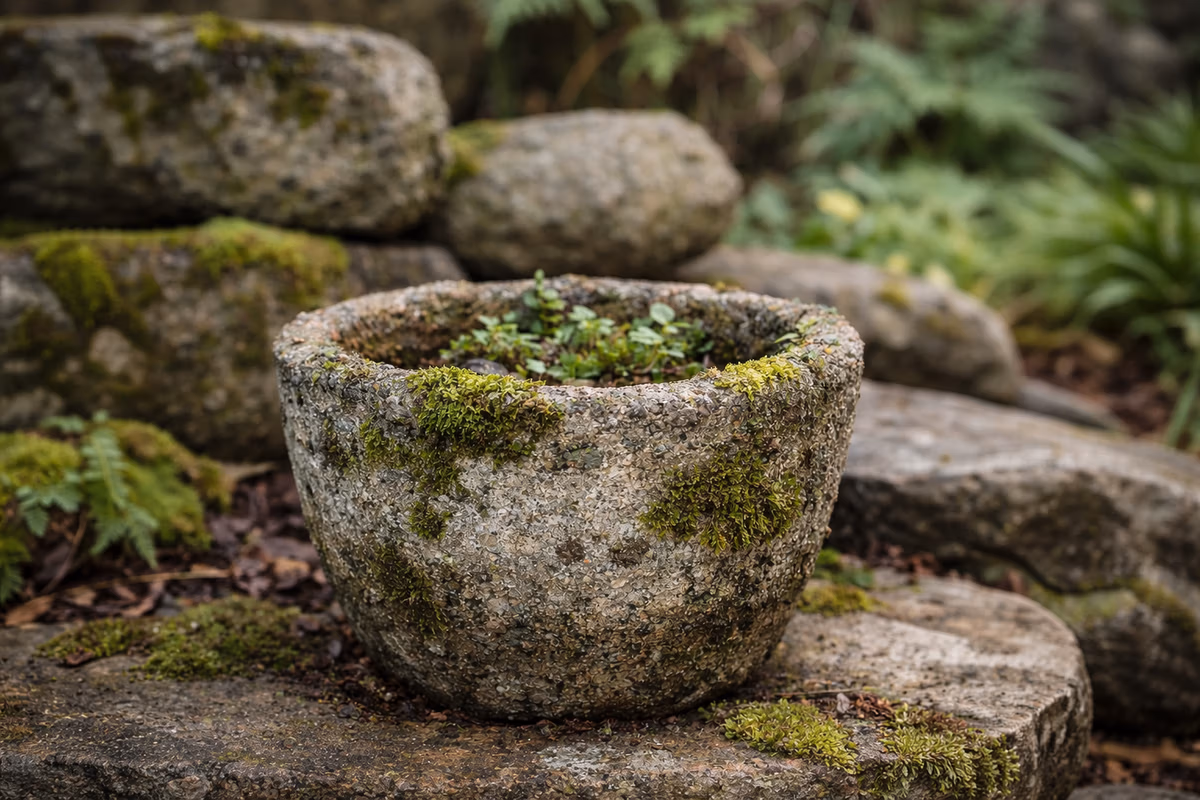
Hypertufa is porous, but porosity alone is not enough.
Drainage holes help:
- prevent excess water buildup
- protect roots from rot
- improve oxygen flow
- extend the life of your planter
Even drought-tolerant plants benefit from proper drainage.
When to Make Drainage Holes
Timing is everything.
There are two good moments to create drainage holes:
Option 1 — During Molding (Recommended)
This is the easiest and cleanest method.
- The hypertufa is still soft
- The hole forms naturally
- No tools are required later
This method is ideal for beginners.
Option 2 — After Partial Curing
Used when:
- drainage was forgotten
- the design changed
At this stage, the hypertufa must be:
- firm
- not fully cured
Too soft → edges collapse
Too hard → risk of cracking
Simple Tools You Can Use
You don’t need power tools.
Common options:
- wooden dowel
- pencil
- stick
- piece of plastic pipe
The hole doesn’t need to be large — 1 to 2 cm (½–¾ inch) is enough for most pots.
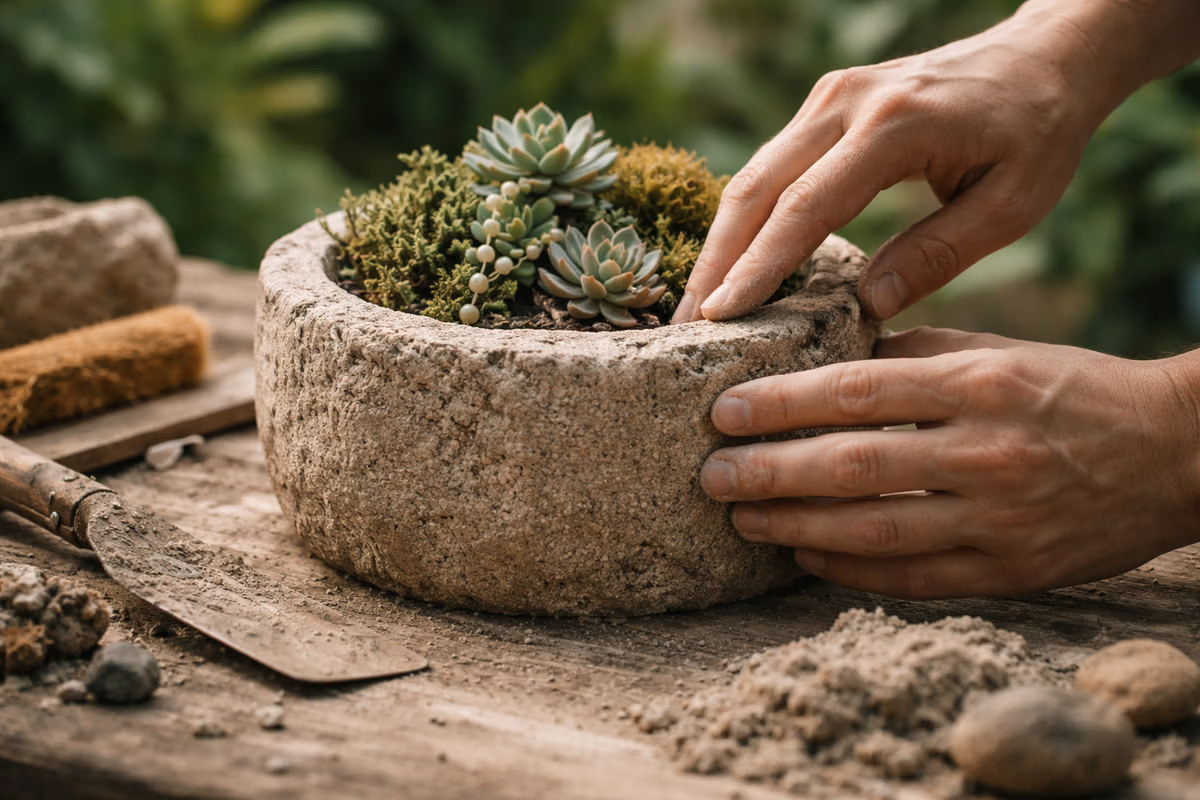
Making Drainage Holes During Molding
Step 1 — Prepare the Base
After pressing the base layer into your mold, smooth it gently. Make sure the base thickness is even.
Step 2 — Insert the Tool
Push your dowel or stick straight down through the center of the base. Do not twist — gentle pressure is enough.
Step 3 — Leave It in Place
Keep the tool in place while the hypertufa sets. This helps the hole keep its shape.
Step 4 — Remove Carefully
Once the hypertufa is firm:
- slowly twist
- pull straight up
The result should be a clean, natural hole.
Making Drainage Holes After Molding
If the pot has already set:
- wait until it is firm but not fully cured
- use gentle pressure
- work slowly
Avoid metal drills at this stage — they can crack the piece.
If drilling later, always:
- wait until full curing
- drill slowly
- support the pot from underneath
⚠️ Common Mistakes to Avoid
- No drainage hole at all
- Holes that are too small
- Off-center holes on small pots
- Forcing tools through dry hypertufa
Patience prevents cracks.
🌿 Final Thoughts
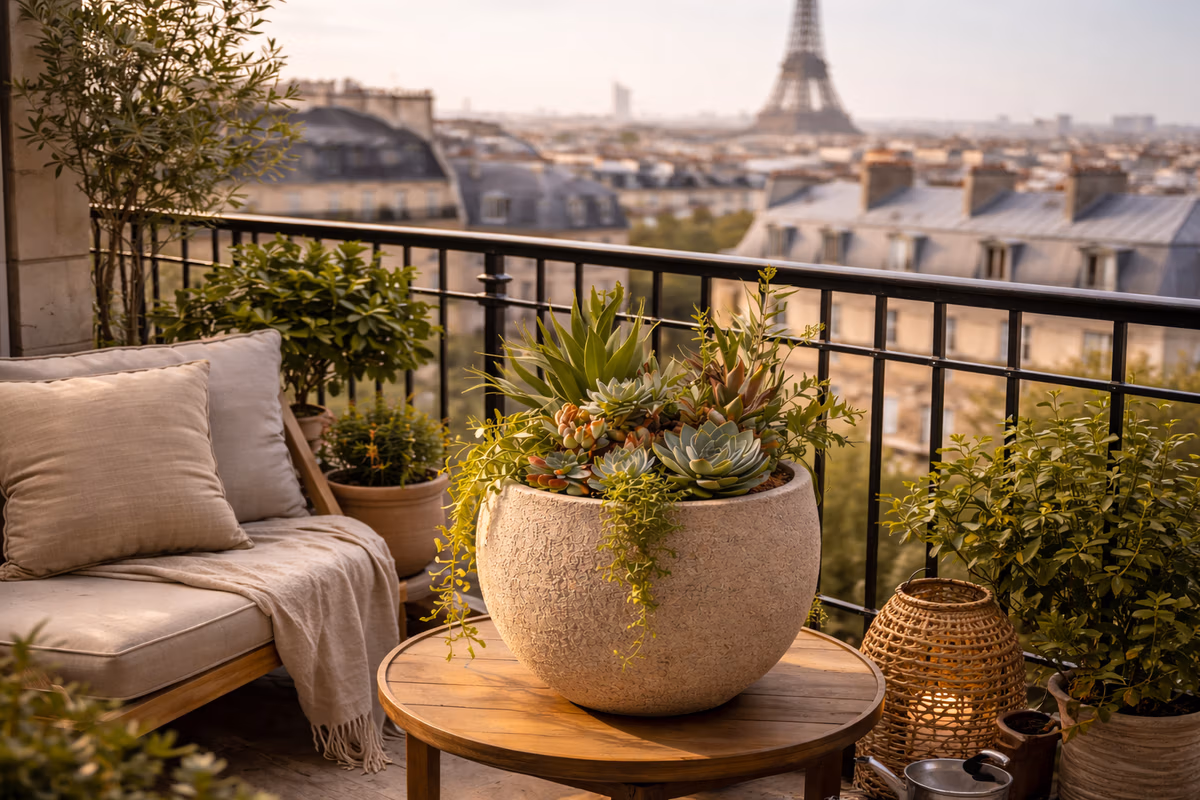
Drainage holes may be hidden once the pot is planted, but they define how well the planter performs.
A small, well-placed hole can make the difference between a pot that lasts years and one that fails quietly.
Good drainage is a sign of thoughtful craftsmanship.
🔜 What’s Next
Next, we’ll refine the form:
How to Smooth or Carve Hypertufa Edges
From structure, we move toward finishing.
If you’d like to save this article for later, you can find it on Pinterest.