Introduction
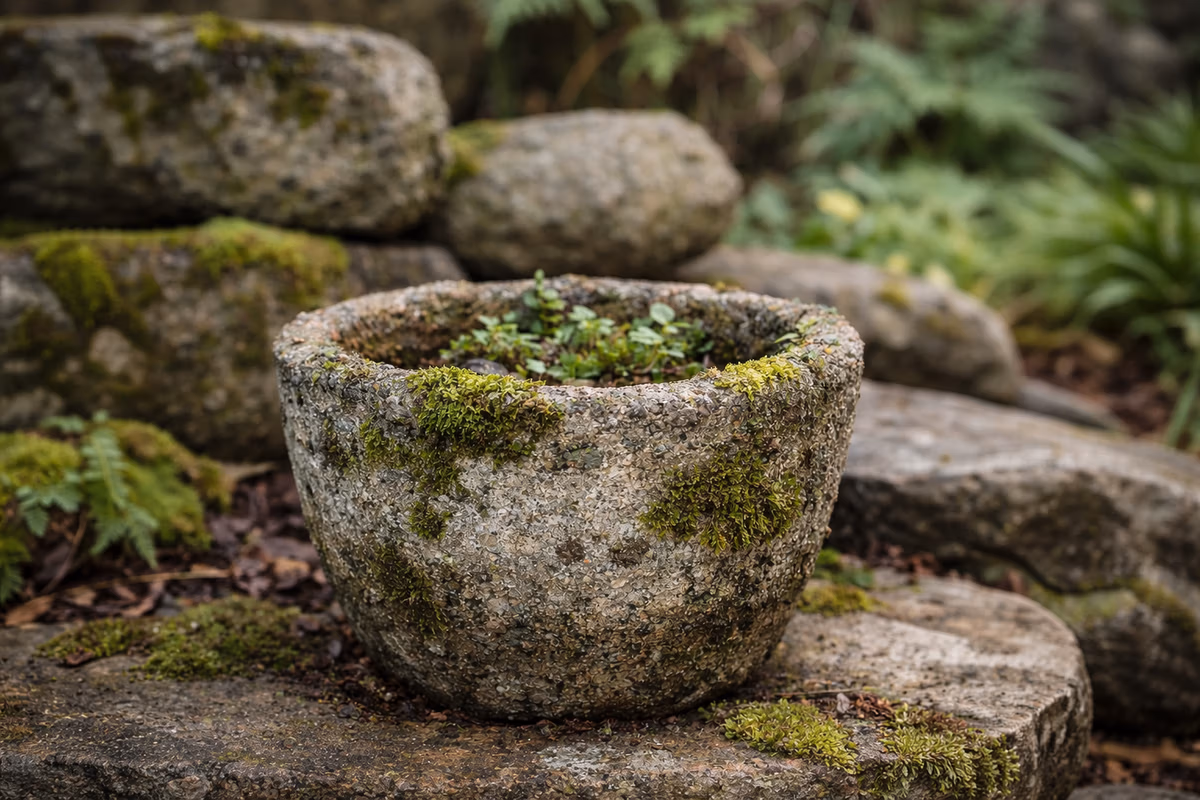
The edges of a hypertufa pot may seem like a small detail, but they greatly influence the overall feel of the piece.
Sharp or uneven edges can make a planter look unfinished, while soft or intentionally carved edges give it balance and character.
In this guide, you’ll learn how to smooth or carve hypertufa edges by hand, using simple tools and the right timing.
Why Edges Matter
Edges define how a piece is perceived.
Well-finished edges:
- feel comfortable to the touch
- look intentional, not accidental
- improve durability
- give visual harmony to the pot
This step is not about perfection — it’s about refinement.
The Right Moment to Work the Edges
Timing is essential.
The ideal moment is when hypertufa is:
- firm
- no longer sticky
- still slightly damp
👉 Usually 24 to 48 hours after molding, depending on temperature and humidity.
Too early → edges collapse
Too late → material chips or cracks
Simple Tools You Can Use
You don’t need power tools.
Common hand tools:
- stiff brush
- sponge
- small rasp or file
- wooden stick
- sandpaper (fine grit, optional)
Work slowly. Let the material guide you.
How to Smooth Hypertufa Edges
Step 1 — Inspect the Rim
Look for:
- sharp corners
- uneven thickness
- loose material
Remove only what’s necessary.
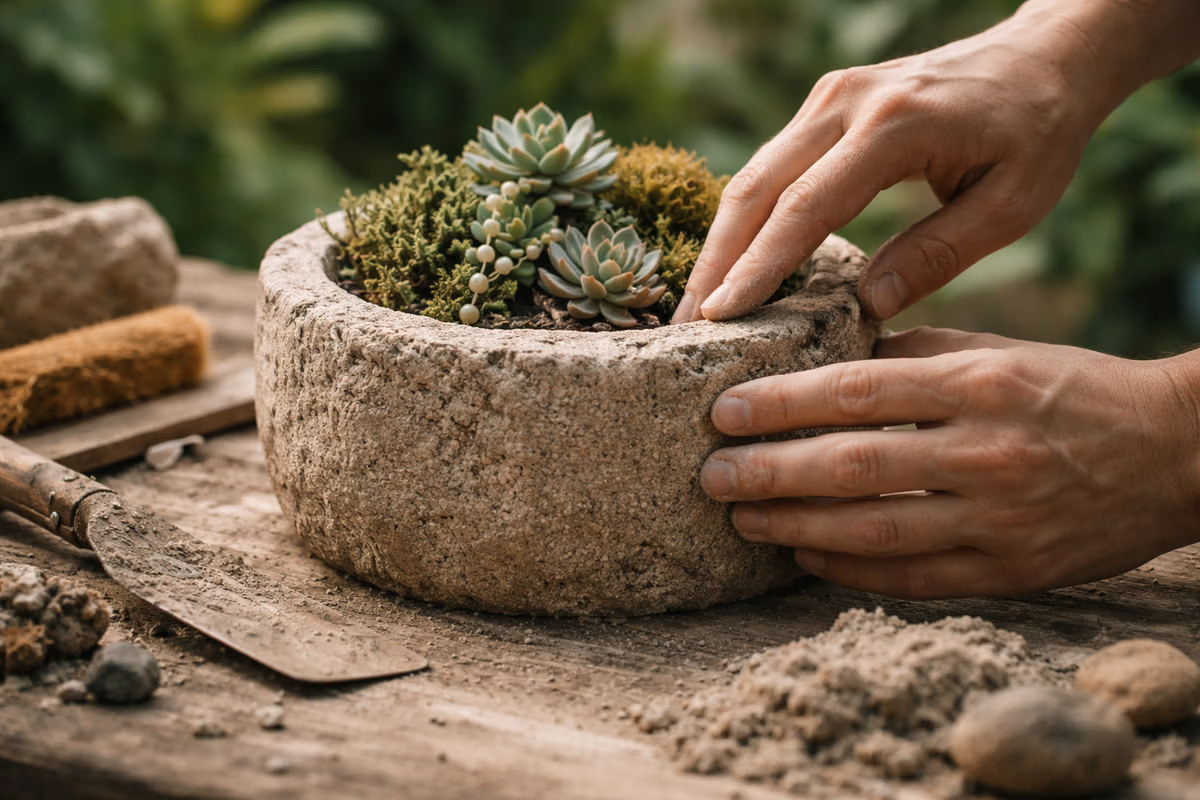
Step 2 — Soften by Hand
Use:
- your fingers
- a damp sponge
Light pressure is enough to round the edge naturally.
Step 3 — Brush Gently
A stiff brush helps:
- remove crumbs
- soften transitions
- unify the surface
Avoid repetitive patterns.
How to Carve Hypertufa Edges
Carving is optional and subtle.
Light Carving Only
- follow the natural shape
- create shallow lines
- avoid deep cuts
Think erosion, not decoration.
A few irregular marks are more convincing than symmetry.
⚠️ Common Mistakes to Avoid
- Over-carving
- Making edges too thin
- Using aggressive metal tools
- Rushing the process
Hypertufa rewards patience.
Final Thoughts
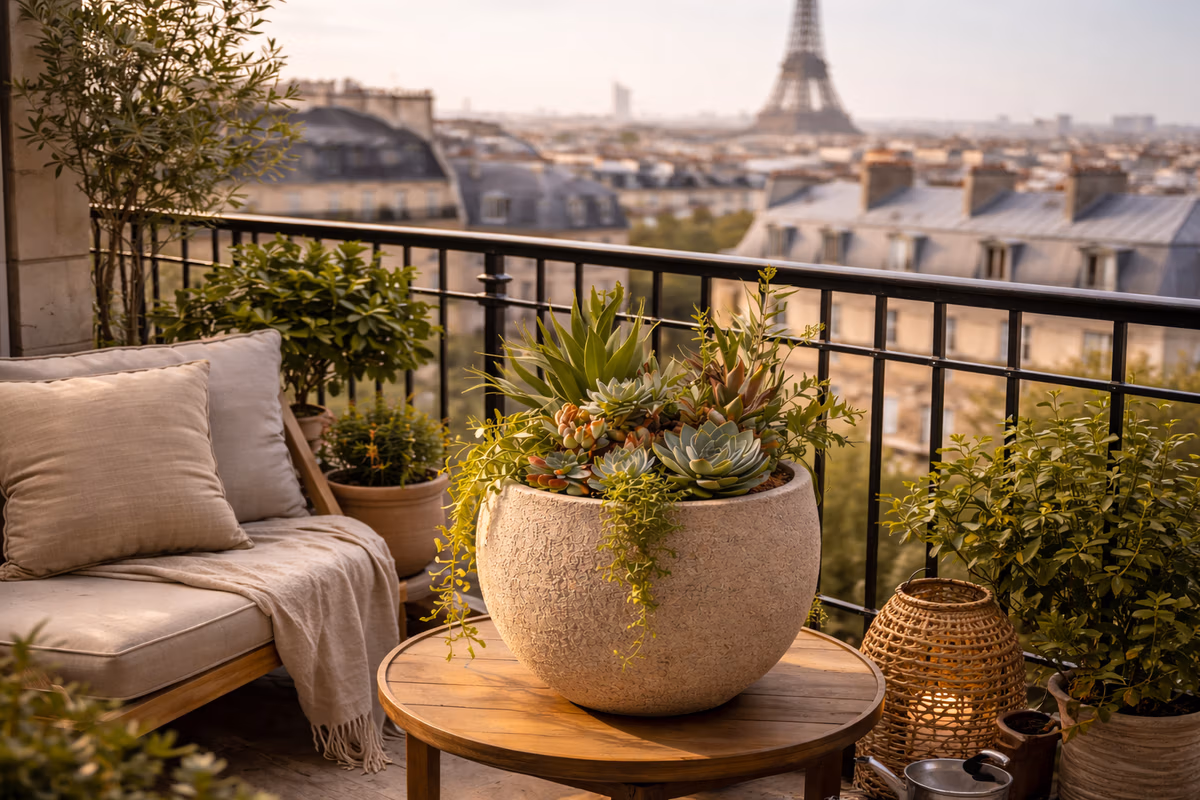
Smoothing or carving hypertufa edges is a quiet step — but an important one.
It’s where the pot begins to feel finished, balanced, and intentional.
Trust your hands.
Stop before it feels forced.
That’s usually the right moment.
🔜 What’s Next
Next in the series:
Molds Using Plastic Bowls
From refinement, we return to simple forms.
If you’d like to save this article for later, you can find it on Pinterest.