Time, patience, and material awareness
Introduction
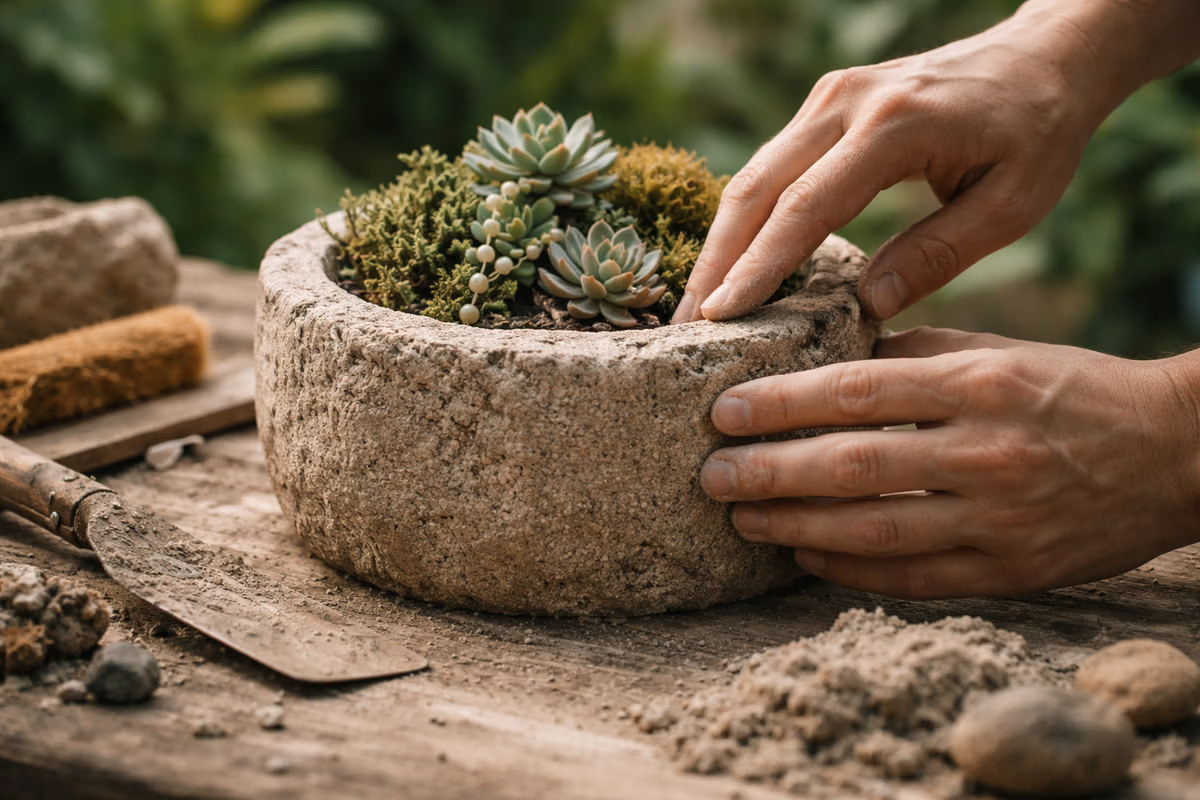
How to cure hypertufa properly. Curing is not a pause between making and using a hypertufa planter.
It is the process.
Many issues attributed to mix ratios, reinforcement, or molds actually begin during curing. Cracks, weak surfaces, uneven color, and long-term fragility are often the result of curing that was rushed, uneven, or misunderstood.
To cure hypertufa properly is not to follow a rigid schedule.
It is to observe, adjust, and respect time.
What curing really means
Curing is not drying.
Drying removes surface moisture.
Curing allows cement to hydrate fully, creating internal bonds that give hypertufa its strength and durability.
During curing:
- moisture must remain present
- temperature must stay stable
- air circulation must be gentle
Too fast, and the bonds weaken.
Too dry, and the structure suffers.
The 20-day curing window (a realistic reference)
For most hypertufa planters, especially medium to large ones, a curing period of around 20 days provides a reliable foundation.
This timeframe allows:
- internal hydration to stabilize
- stresses from forming to release
- reinforcement (if present) to bond properly
It is not a deadline.
It is a minimum reference.
Some pieces benefit from more time—and none are harmed by it.
How to cure hypertufa properly
1. Keep the piece covered at first
In the early days:
- cover with plastic or a damp cloth
- avoid direct sun and wind
- maintain consistent moisture
This prevents rapid surface drying while the interior is still active.
2. Allow gradual air exposure
After the first phase:
- uncover gradually
- allow air circulation
- avoid sudden changes in temperature
This slow transition helps the entire piece cure evenly, not just the surface.
3. Be patient before soaking
Full soaking or leaching should only happen after curing, not during it.
Soaking too early:
- weakens surface bonds
- can cause fine cracking
- interrupts cement hydration
Time first. Water later.
What to watch during curing
Curing is a visual process as much as a timed one.
Pay attention to:
- color changes (dark when moist, pale when dry)
- surface texture (should firm gradually, not powder)
- edges and rims (early indicators of stress)
Small changes tell you more than a calendar.
Drying after curing
Once curing is complete:
- allow several days of open-air drying
- avoid stacking or handling too early
- let the piece feel fully settled
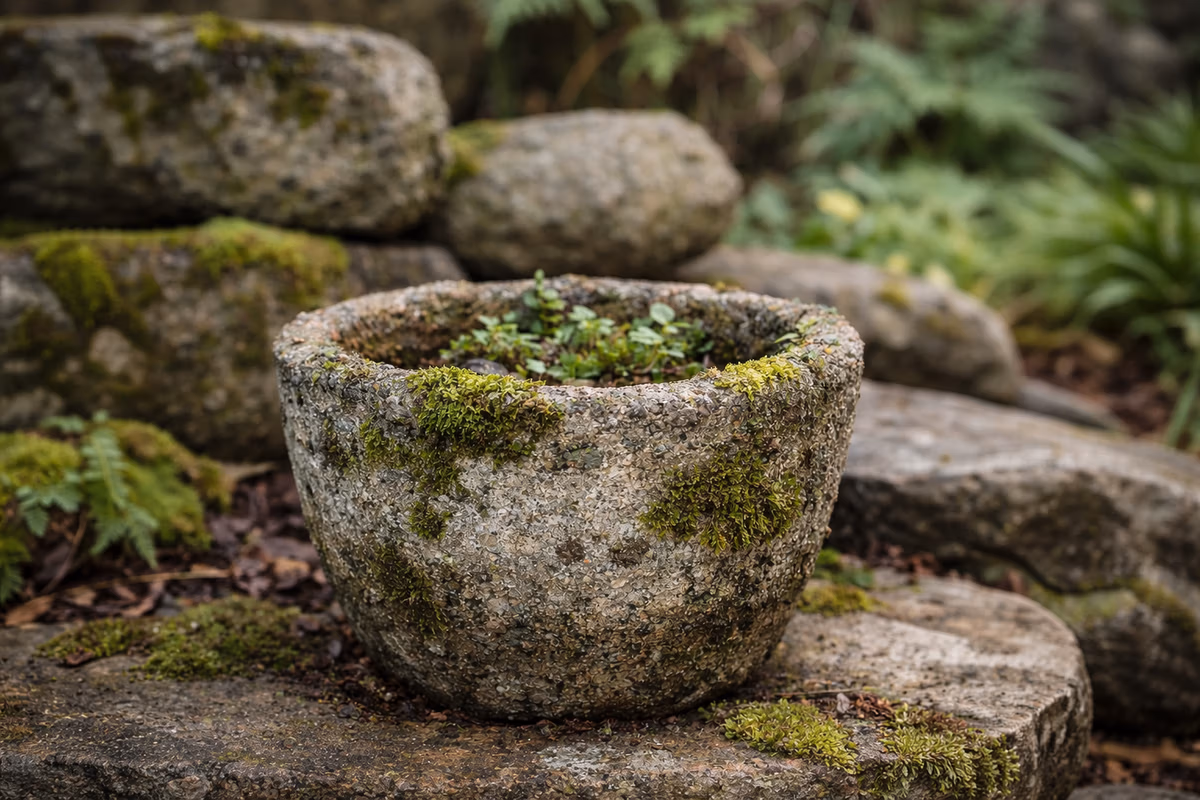
Drying reveals the true surface and prepares the planter for use, finishing, or planting.
A note on fundamentals
Understanding curing begins with understanding what hypertufa is—how cement, aggregates, and fibers work together over time.
That foundation is explored here:
👉 What Is Hypertufa?
Final thought
Curing is where hypertufa decides what it will become.
No mold, pigment, or reinforcement can compensate for curing that is rushed or ignored. But when time is respected, the material responds with strength, balance, and longevity.
A properly cured hypertufa planter does not demand attention.
It simply lasts.
If you’d like to save this article for later, you can find it on Pinterest.