Molds Using Plastic Bowls, how plastic bowls can be used as simple, reliable molds for hypertufa planters, creating balanced forms that cure and age naturally.
Introduction
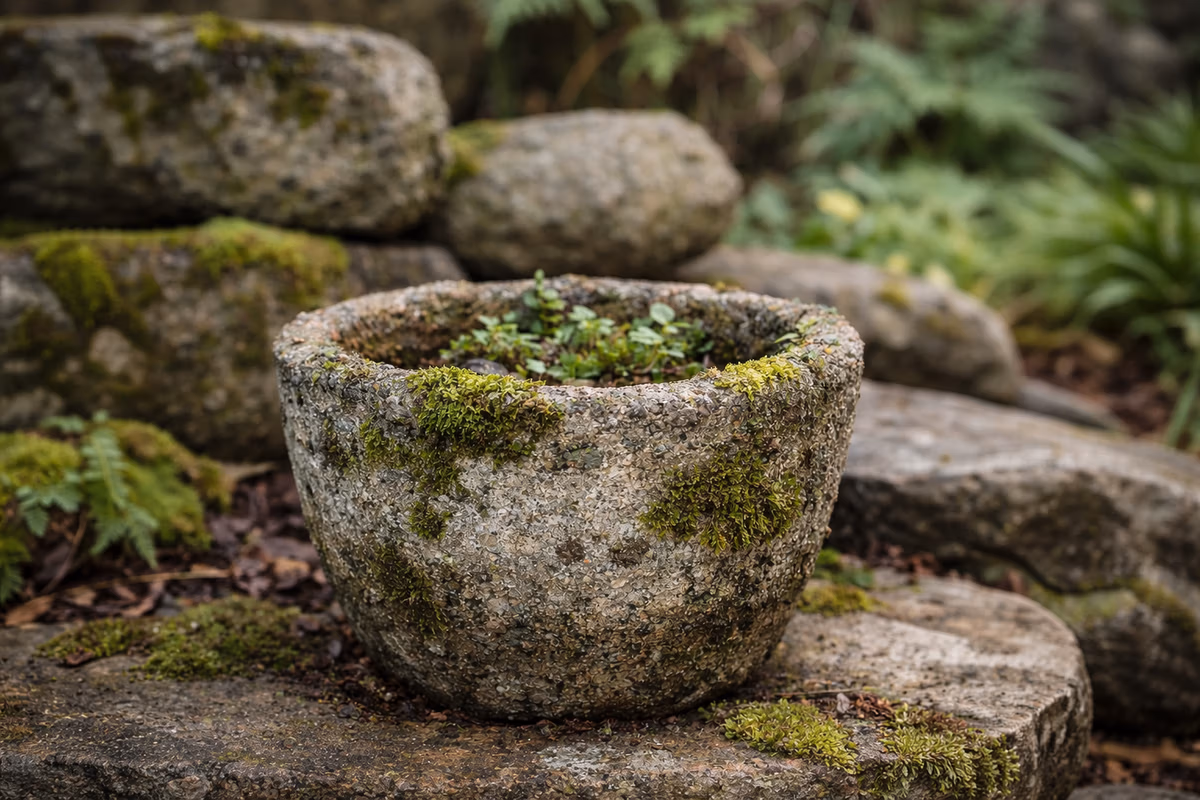
Not every good hypertufa planter begins with a complex mold.
In fact, some of the most balanced and timeless forms come from the simplest objects—those already present in everyday life. Plastic bowls, often overlooked, offer an accessible and surprisingly effective way to shape hypertufa planters that feel natural, stable, and durable.
This article explores how and why plastic bowls make excellent molds for hypertufa, and how to use them thoughtfully—without shortcuts, and without forcing the material.
Why plastic bowls work so well for hypertufa
Plastic bowls have three qualities that make them ideal molds:
- Flexibility – they release easily once the hypertufa has set
- Smooth continuity – they create calm, uninterrupted forms
- Availability – they are inexpensive and easy to replace
Unlike rigid or complex molds, plastic bowls do not fight the material. They allow hypertufa to settle naturally, reducing stress points and uneven thickness.
The result is a form that feels quiet, grounded, and well-proportioned.
Choosing the right bowl
Not all plastic bowls are equal.
When selecting a bowl, look for:
- Medium to thick plastic (too thin collapses under weight)
- A gentle curve rather than sharp angles
- A shape that feels balanced when inverted
Avoid bowls with deep ridges or decorative textures. Hypertufa already has its own surface character—extra pattern often distracts rather than enhances.
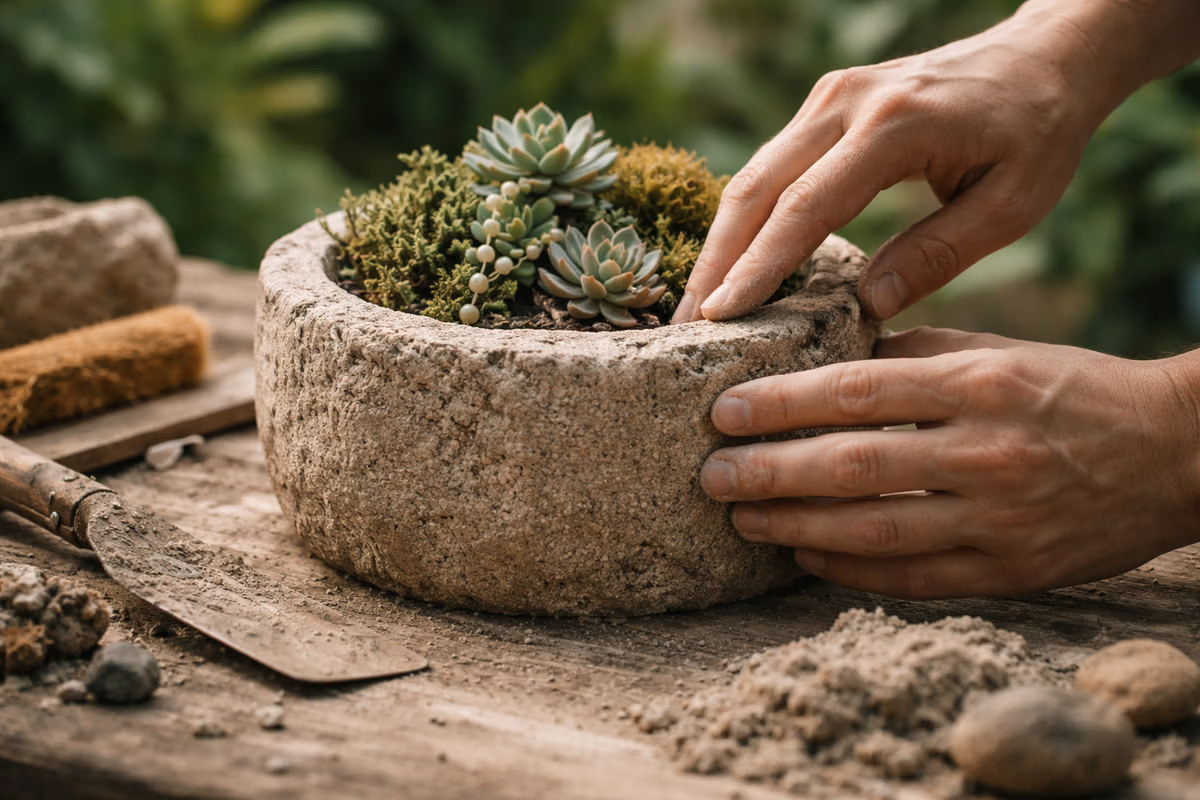
Preparing the mold
Preparation is minimal, and that is part of the strength of this approach.
- Clean the bowl thoroughly
- Lightly oil the interior (vegetable oil is enough)
- Place it on a stable surface before packing the mix
There is no need for release sprays or liners. Simplicity keeps the process predictable.
Building the form
When packing hypertufa into a bowl mold:
- Work in layers
- Press firmly but without force
- Keep wall thickness consistent
This is not a race.
The material responds better when it is guided slowly, allowing air pockets to escape and fibers to distribute evenly.
A well-packed bowl mold creates a planter that cures evenly and ages gracefully.
Shape, proportion, and restraint
One of the greatest advantages of bowl molds is restraint.
They naturally encourage:
- Rounded bases
- Stable silhouettes
- Proportions that feel calm rather than dramatic
These forms may seem simple at first glance, but they allow the surface, texture, and eventual patina to take center stage.
In hypertufa, form should support the material—not compete with it.
Removing the mold
Once the hypertufa has set sufficiently:
- Gently flex the plastic bowl
- Allow air to enter between the mold and the piece
- Lift slowly, without twisting
If resistance is felt, wait longer. Time is not lost here—it is invested.
A note on fundamentals
Using plastic bowls successfully depends on understanding how hypertufa behaves from the inside out—its structure, moisture balance, and curing rhythm.
If you are new to the material or want a deeper foundation, this understanding is explored further here:
👉 What Is Hypertufa?
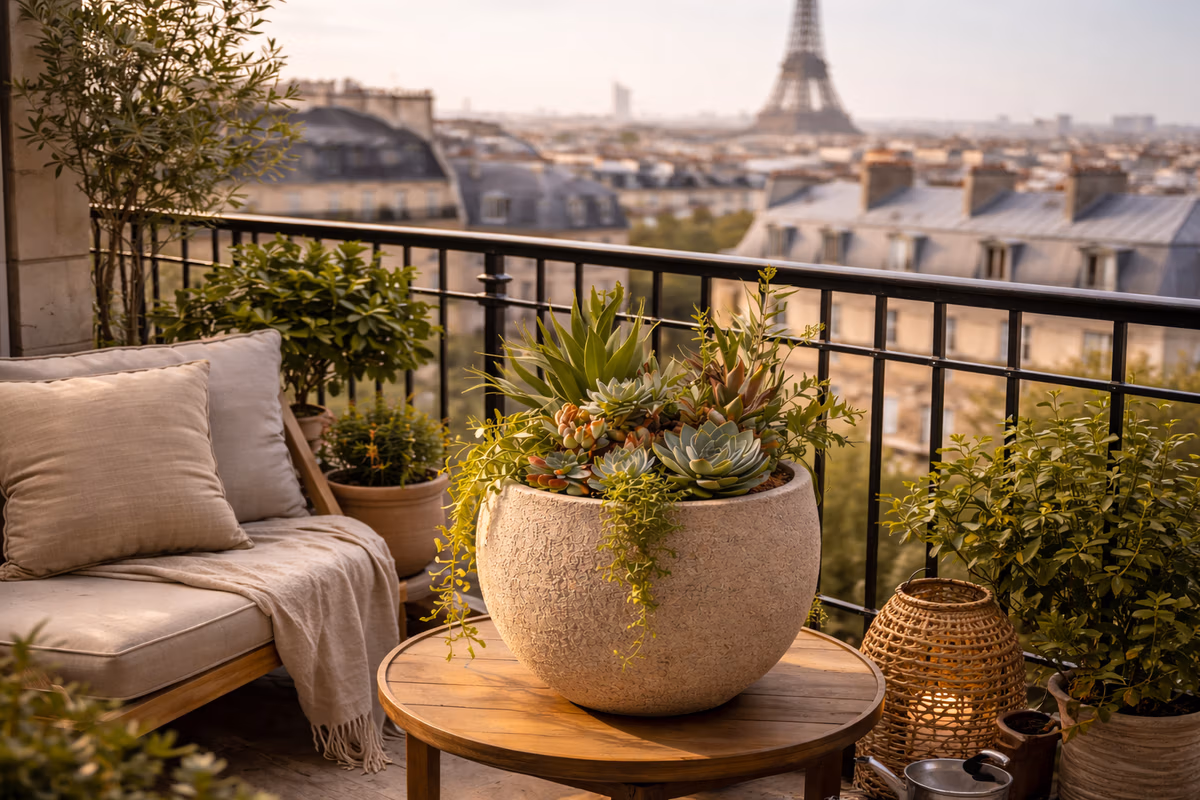
Final thought
Plastic bowls are not a shortcut.
They are a quiet tool.
When used with intention, they produce forms that respect the nature of hypertufa—forms that feel honest, stable, and made to last.
Sometimes, the simplest mold is the one that lets the material speak most clearly.
If you’d like to save this article for later, you can find it on Pinterest.