How to Color Hypertufa Naturally
A quiet approach to lasting, earthy tones
Introduction
Hypertufa is not meant to shout.
It belongs to stone, time, weather, and silence.
When people ask how to color hypertufa, they often expect quick answers: pigments, paint, finishes.
But natural color in hypertufa does not come from decoration — it comes from material choices, restraint, and patience.
This article explores how to color hypertufa naturally, without fighting its nature, and without erasing what makes it alive.
Coloring hypertufa naturally begins with understanding what the material truly is and how it behaves over time.
Understanding color in hypertufa
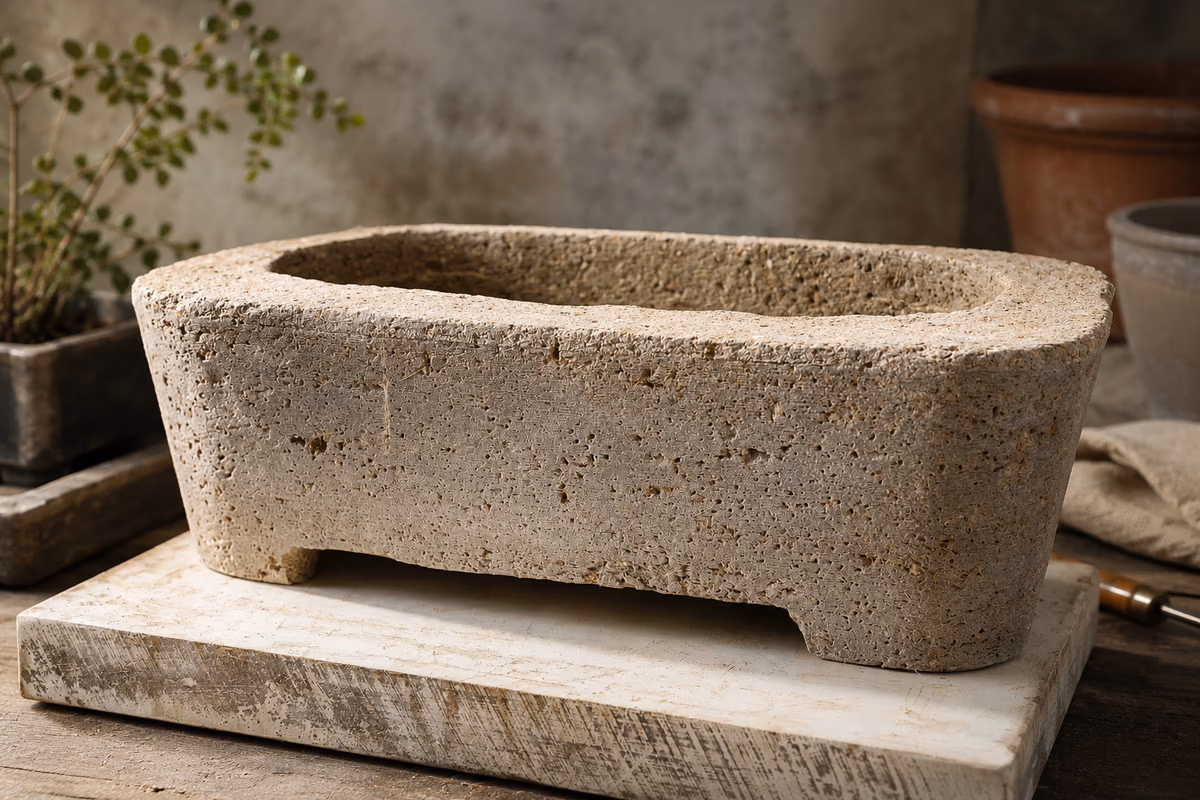
Fresh hypertufa is pale.
Often too pale.
Many beginners worry that something is wrong — but this light tone is only the starting point. Hypertufa is a living material. Its final color appears slowly, shaped by curing, minerals, moisture, and time.
Natural coloring respects three principles:
- The color must belong to the material
- The surface must remain breathable
- The result must improve with age, not degrade
If a method violates one of these, it rarely ages well.
A note on wet vs. dry color
It is important to understand that hypertufa does not show its true color right away.
In the first 24 to 48 hours after forming, the piece often appears much darker than expected. This is simply because the material is still wet. Moisture deepens tones and gives the illusion of richness.
After a full curing period — often close to three weeks — followed by several days of drying, the surface becomes noticeably paler. This stage can be surprising, especially for beginners, but it is completely normal. The pale tone seen after drying is not a failure — it is the starting point of natural color.
As curing continues and the pot is exposed to water, air, and time, mineral tones slowly return and evolve. The final color of hypertufa is never fixed in the first days; it develops gradually, often becoming deeper and more expressive with age.
The role of cement: the base tone
Cement already defines much of the final color.
- Grey Portland cement produces cool, stone-like tones
- White Portland cement creates lighter, warmer bases
White cement does not mean “white pots.”
It simply allows more control and subtlety when natural pigments are added.
For earthy, mineral results, white cement combined with restrained coloring gives the most depth.
Natural mineral pigments (the safest path)
The most reliable way to color hypertufa naturally is through mineral pigments.
These are not dyes.
They are finely ground minerals — iron oxides, earth oxides — that integrate into the cement itself.
Common natural tones include:
- Ochre (yellow, warm sand)
- Burnt umber (brown, soil-like)
- Raw umber (cool brown)
- Iron oxide red (brick, clay)
- Carbon black (used sparingly)
How much to use?
Less than most people think.
A good rule:
1–3% pigment by weight of cement
Too much pigment weakens the mix and creates artificial-looking color.
Natural hypertufa never looks “even.” Subtle variation is a strength, not a flaw.
Mixing for natural variation (not uniform color)
Perfectly uniform color looks industrial.
Natural stone is never uniform.
To create organic variation:
- Mix pigment incompletely on purpose
- Allow slight marbling in the batch
- Use hand-mixing instead of mechanical mixing
Small inconsistencies create depth.
They catch light differently.
They age beautifully.
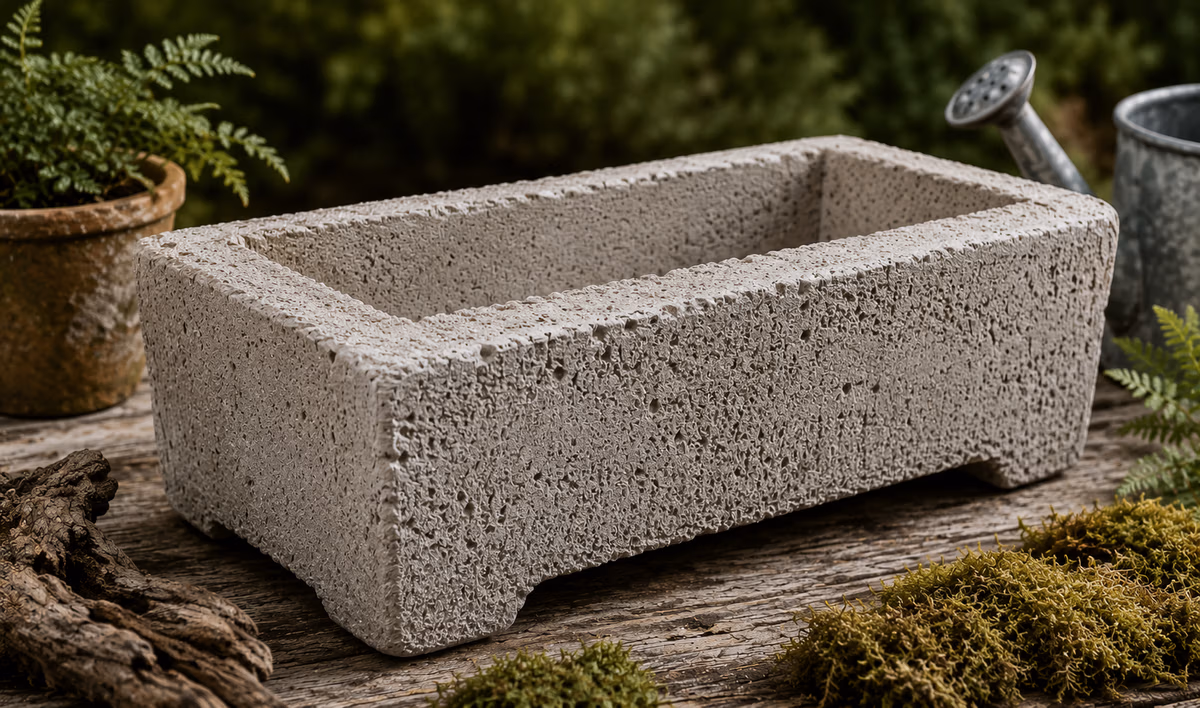
Using sand and aggregates as color contributors
Color does not come only from pigments.
Sand matters.
- River sand adds warm, irregular tones
- Masonry sand is more neutral
- Crushed stone can darken the surface naturally
Different aggregates reflect light differently once cured. Over time, they become more visible as the surface weathers.
This is slow color — but it is honest color.
Surface treatments: gentle, not decorative
After demolding, some makers rush to paint.
This is where many pieces lose their soul.
If you choose to work on the surface, stay minimal.
Vinegar wash (after full cure)
A light vinegar soak:
- Softens the cement surface
- Reveals aggregates
- Deepens natural tones slightly
This does not add color — it reveals what is already there.
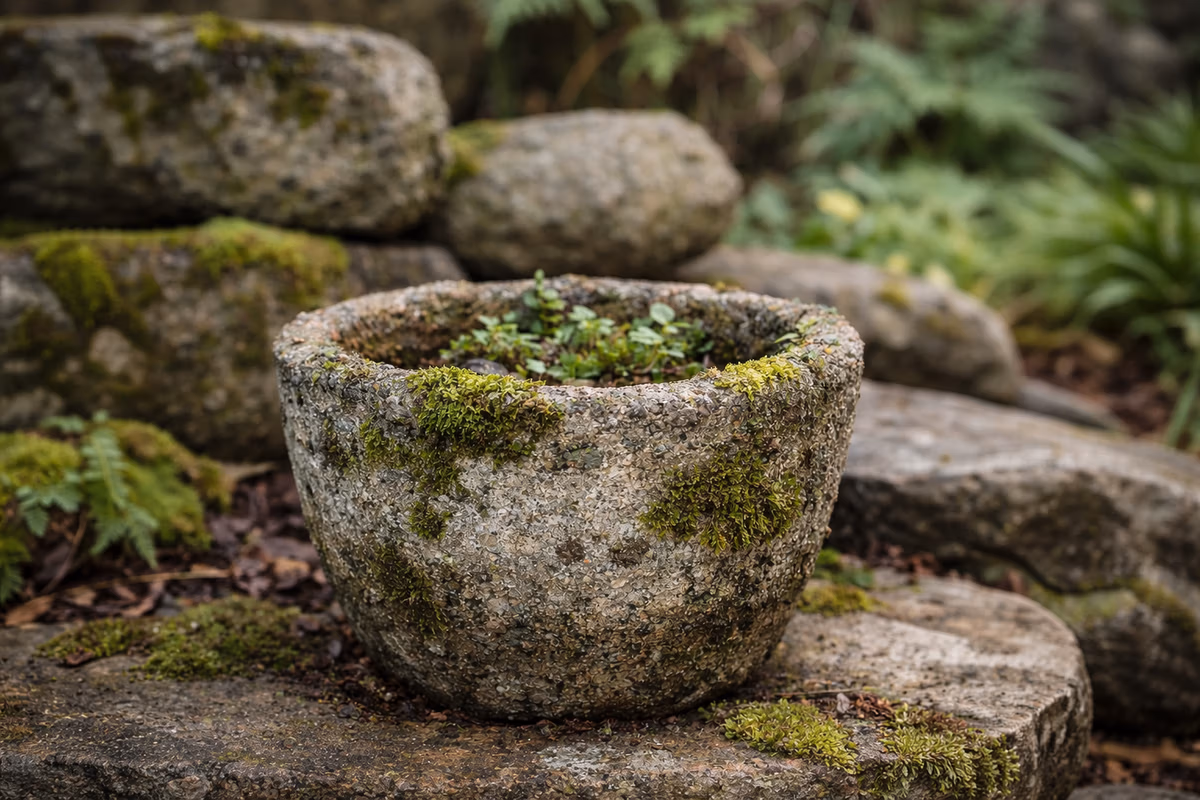
Natural weathering
The most overlooked method:
- Rain
- Sun
- Moss
- Time
Hypertufa colored naturally will change.
That change is not damage — it is the finish.
Why paint is rarely the right answer
Acrylic paints can be tempting.
They give immediate results.
But paint:
- Seals the surface
- Ages unevenly
- Often flakes or fades
- Stops the pot from breathing properly
If paint is used, it should be:
- Extremely diluted
- Applied as a wash, not a coat
- Considered temporary, not permanent
Natural hypertufa does not need to be perfect on day one.
Letting go of control
This may be the hardest part.
Natural coloring requires accepting:
- Irregularity
- Imperfection
- Slow transformation
The pot you see today is not the pot it will become.
That is not a flaw.
That is the craft.
Final thought
Color in hypertufa is not applied.
It is earned.
Earned through restraint.
Through material choice.
Through time.
If a pot looks beautiful only when it is new, it is unfinished.
A truly natural hypertufa piece becomes more itself each season.
And that quiet evolution is what makes people come back to it — again and again.
If you’d like to save this article for later, you can find it on Pinterest.