Introduction
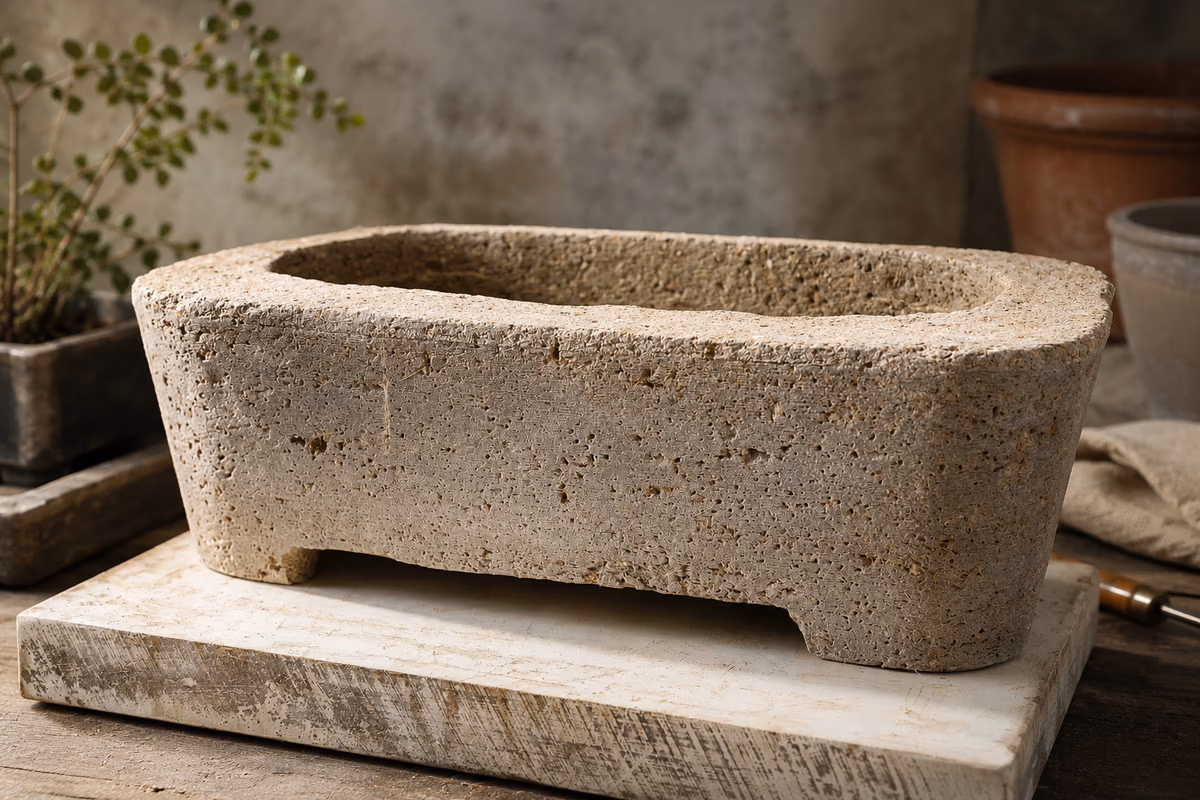
Texture is what gives hypertufa its soul.
Before color, before plants, before finishes — texture is what makes a piece feel natural, aged, and alive.
The good news is that you don’t need special tools.
Your hands, a few simple objects, and patience are enough.
In this guide, I’ll show you how to create natural texture on hypertufa by hand, step by step.
Why Texture Matters in Hypertufa
Texture is not decoration.
It’s part of the material.
Good texture helps:
- break smooth, artificial surfaces
- imitate natural stone
- give character to simple forms
- make small pieces feel intentional
Every mark tells a quiet story.
When to Texture Hypertufa
Timing is essential.
The best moment is when the hypertufa is:
- firm, but still slightly damp
- no longer sticky
- resistant to light pressure
👉 Usually 30 minutes to a few hours after molding, depending on humidity and mix.
Too early → the surface collapses
Too late → the surface chips instead of shaping
Tools You Can Use (or Not)
You don’t need much:
- your fingers
- a stiff brush
- a sponge
- a small stick or wooden tool
- a soft wire brush (optional)
Avoid sharp metal tools at this stage — they create harsh, unnatural marks.
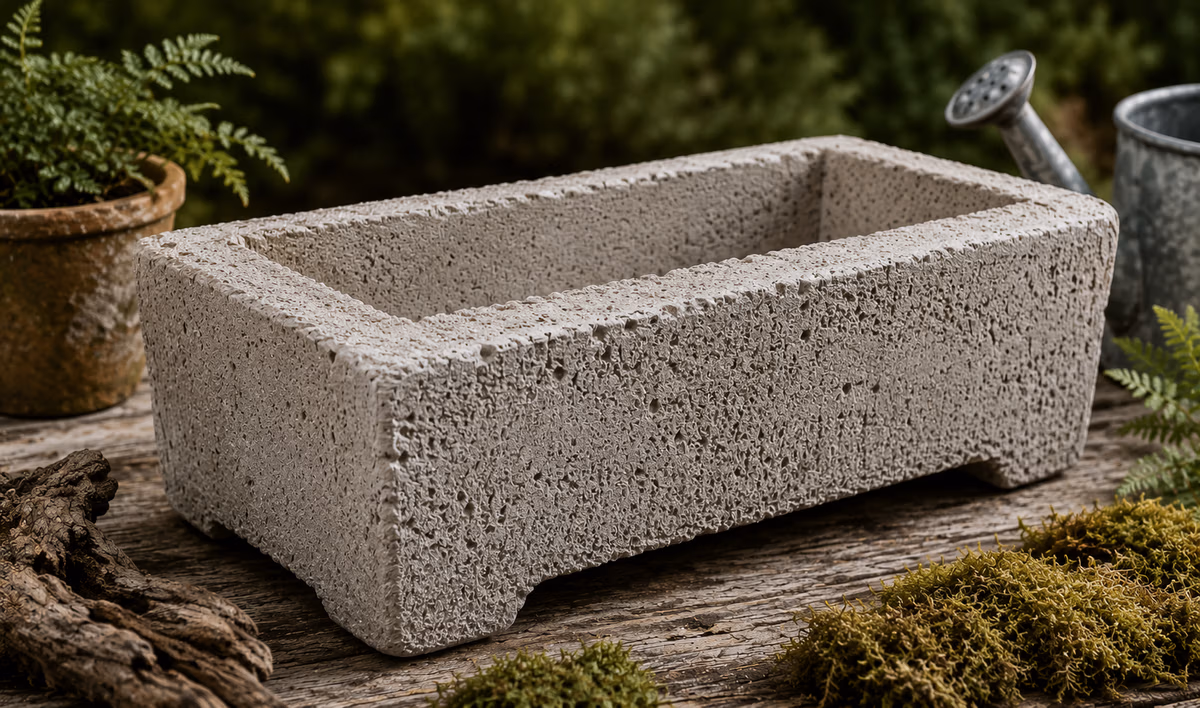
Hand Techniques for Natural Texture
1. Pressing and Pinching
Gently press the surface with your fingertips.
This creates:
- small irregular depressions
- organic transitions
- a hand-shaped look
Work slowly. Let the material respond.
2. Tapping the Surface
Light taps using:
- fingertips
- a brush
- the handle of a tool
This breaks smoothness without carving.
Perfect for subtle stone effects.
3. Brushing
Use a slightly damp brush.
Short, irregular strokes help reveal the inner structure of the mix.
This works especially well on edges and rims.
4. Light Carving (Optional)
If the surface is firmer:
- scratch gently
- follow natural lines
- avoid symmetry
Carving should feel like erosion, not engraving.
Common Mistakes to Avoid
- Overworking the surface
- Making patterns too regular
- Texturing every area equally
- Rushing the process
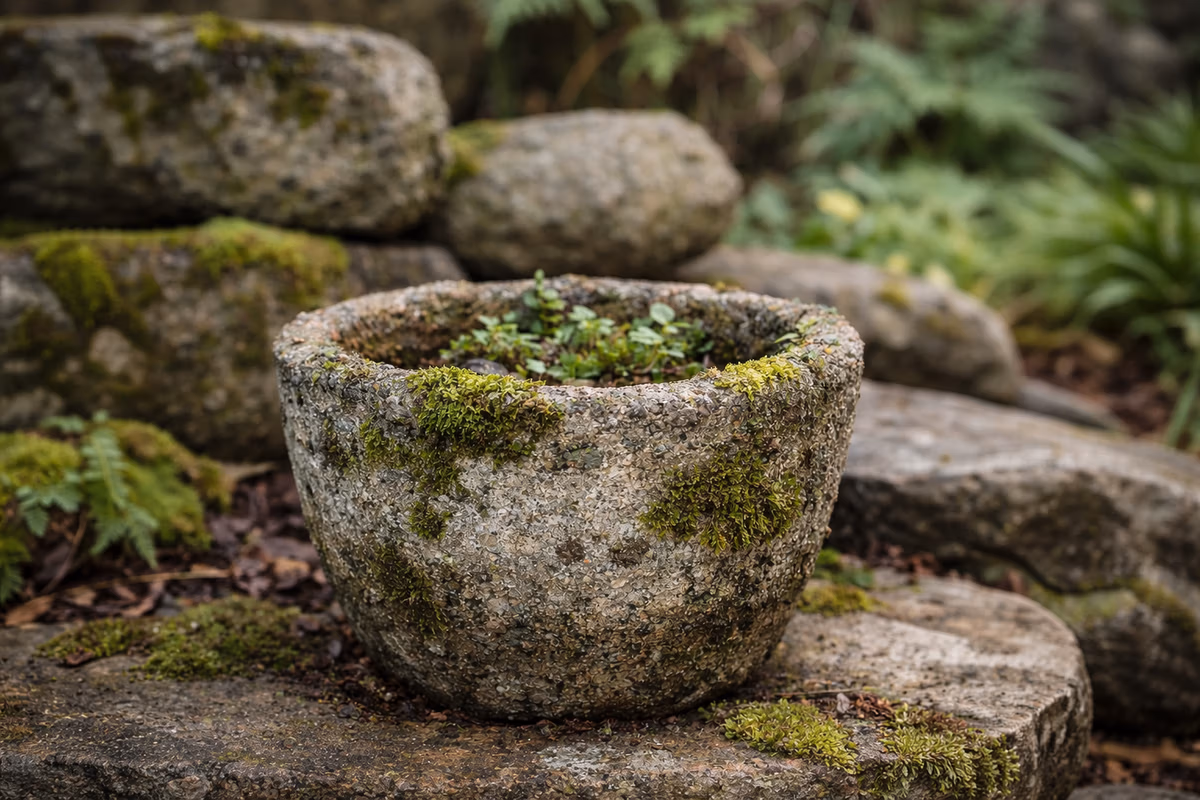
Sometimes, less texture creates more depth.
🧭 Final Thoughts
Texture is where hypertufa stops being a recipe and becomes a language.
It’s not about control — it’s about listening.
With practice, your hands will know when to press, when to stop, and when to leave the surface untouched.
That’s when hypertufa becomes truly yours.
🔜 What Comes Next
This closes the Fundamentals phase.
From here, we move toward:
- refining edges
- finishing techniques
- plant integration
- creative expression
Before learning the technique, here’s how I personally approach hypertufa — not as a recipe, but as a material shaped by time, texture, and restraint.
If you’d like to save this article for later, you can find it on Pinterest.