Texture in hypertufa pottery begins not with specialized tools but with the mold, the mix, and the maker’s hands. Everyday objects like rope, crumpled plastic, or worn cloth can produce naturally varied surfaces, while the fiber content and mineral composition of the mix itself also shape the final character.
After demolding, tools such as wire brushes or sandpaper help reveal surface details already present in the material. Intentional imperfections are encouraged, and the appropriate texture should suit the garden setting. Weathering over time — through rain, moss, and seasonal change — continues to develop the surface long after the pot leaves the workshop.
Every Tool Leaves a Different Story

Texture Begins Long Before the Brush
People sometimes ask me which tool creates the best hypertufa texture.
I usually answer with another question.
“What kind of story do you want the pot to tell?”
Because texture doesn’t begin with a wire brush.
It begins much earlier.
Sometimes with the mold.
Sometimes with the mix itself.
Sometimes simply with the way your hands press the material into place.
Looking Beyond Specialized Tools
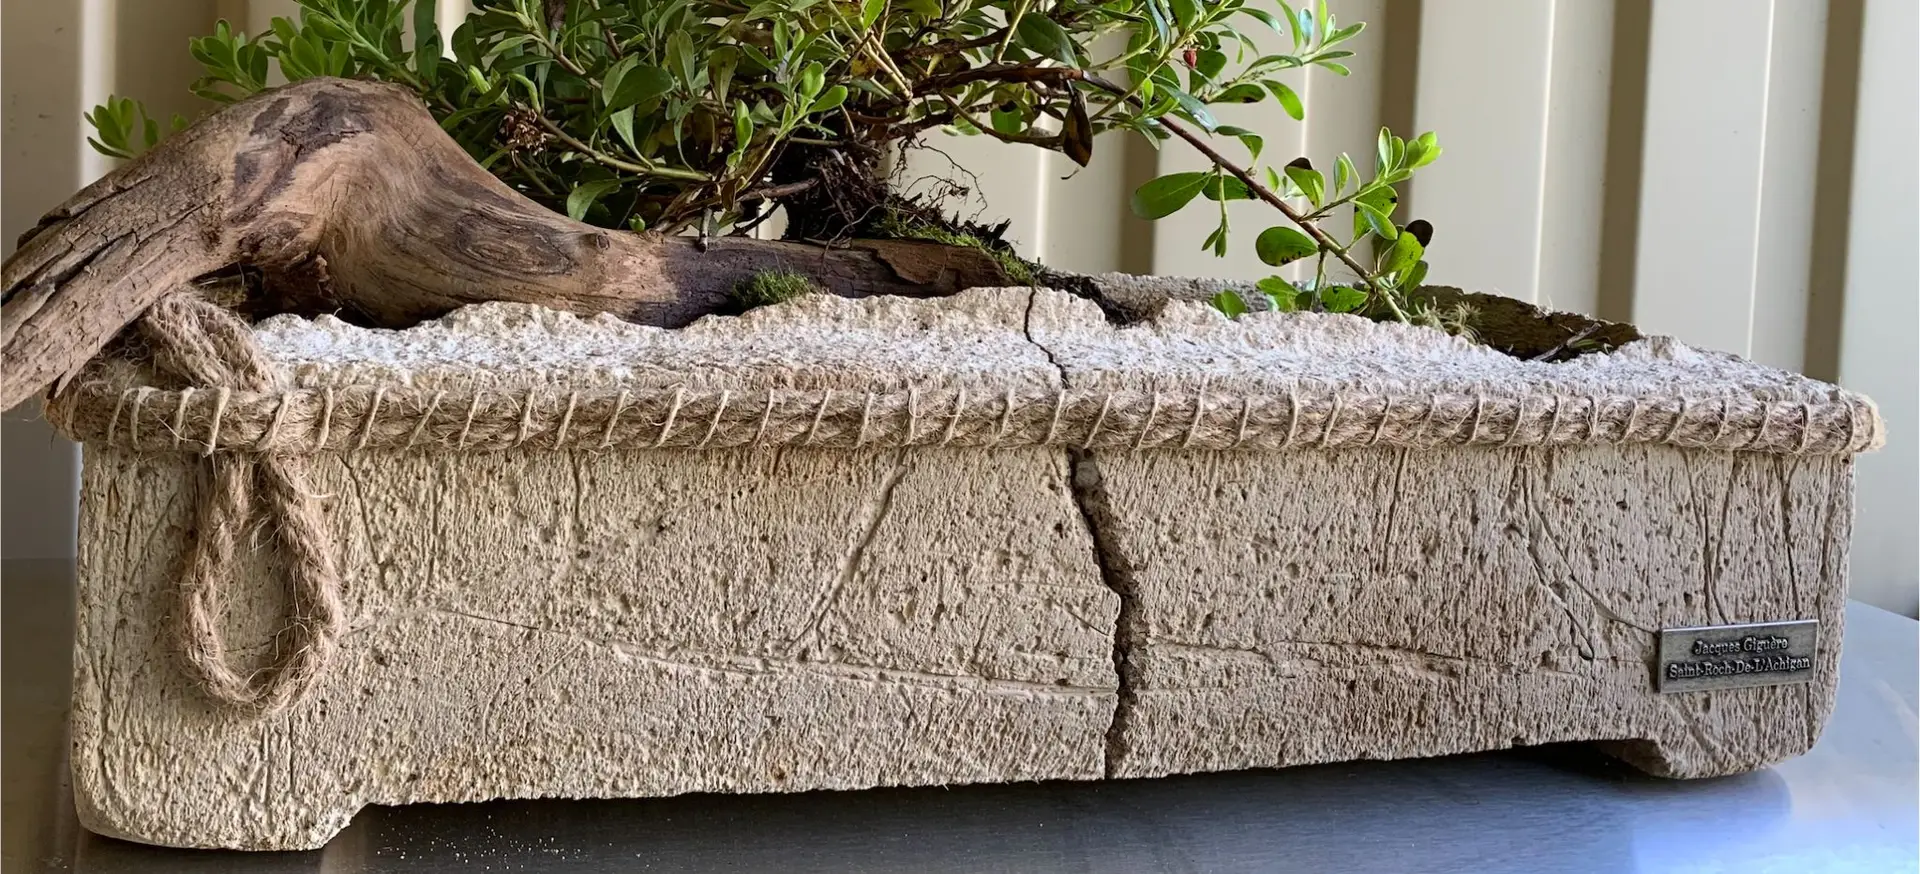
Over the years, I’ve discovered that some of my favorite textures came from objects that were never meant for pottery.
A piece of crumpled plastic.
An old rope.
A worn cloth.
Even newspaper.
None of them were expensive.
None were designed for hypertufa.
Yet each one left behind a surface that looked surprisingly natural.
Nature rarely repeats the same pattern twice.
Neither should we.
The Moment When the Pot Begins to Speak
One of my favorite stages comes after demolding.
The cement has become firm, but it still welcomes small changes.
That’s when a wire brush, a scraper, or even a simple piece of sandpaper can reveal what was already hidden inside the surface.
I don’t think of this as correcting the pot.
I think of it as uncovering it.
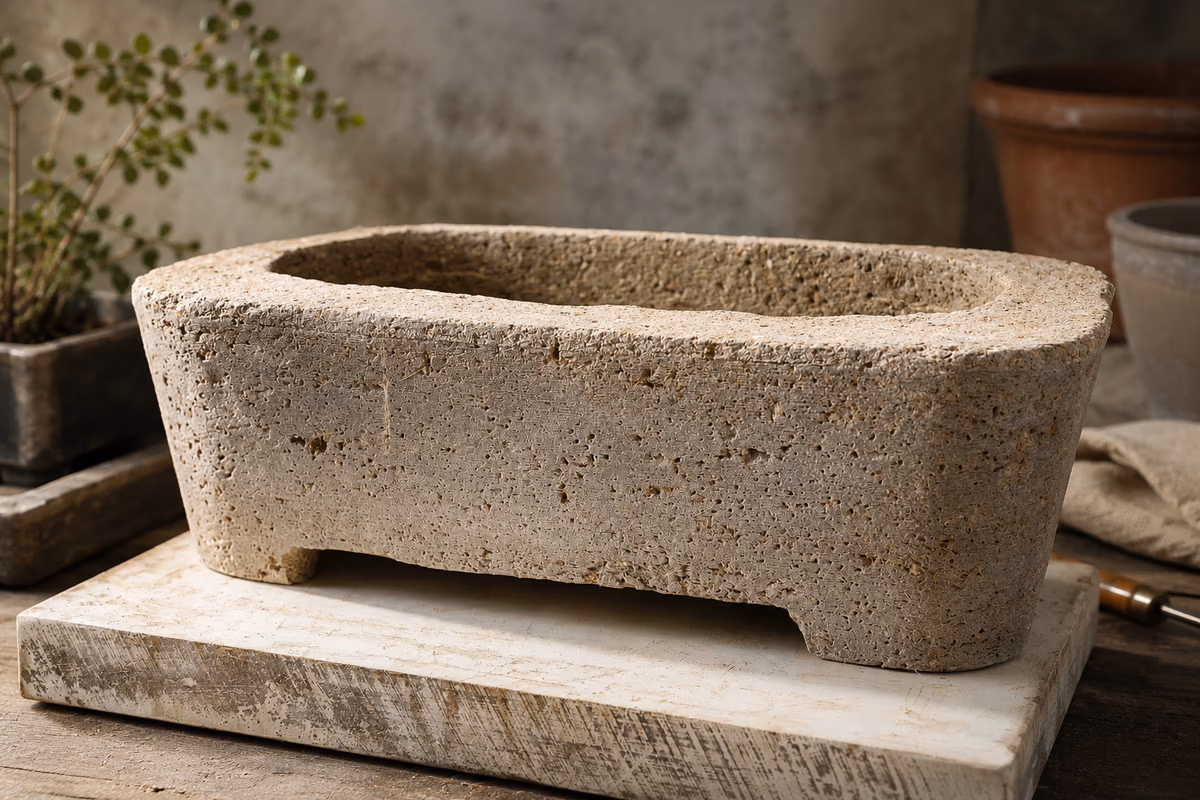
Some Marks Should Stay
When I first began making hypertufa, I tried to erase every small imperfection.
Now I often leave them.
A tiny cavity.
A rough edge.
A subtle variation in texture.
Those details are often what make a handmade piece feel believable.
Stone shaped by nature is never perfectly smooth.
Why should my pots be?
Texture Lives Inside the Mix Too
Not every texture is created after the pot is made.
Some are born inside the mixture itself.
The size of the fibers.
The amount of sand.
The mineral particles.
Even small adjustments can completely change the character of the finished surface.
That’s one reason I still experiment with my recipes.
The material always has another surprise waiting.
The Right Texture Depends on the Garden
A rugged alpine planter doesn’t ask for the same surface as a quiet Zen garden.
One may call for deep shadows and pronounced relief.
The other may feel better with softer transitions and gentle curves.
Texture should never become decoration.
It should support the atmosphere you’re trying to create.
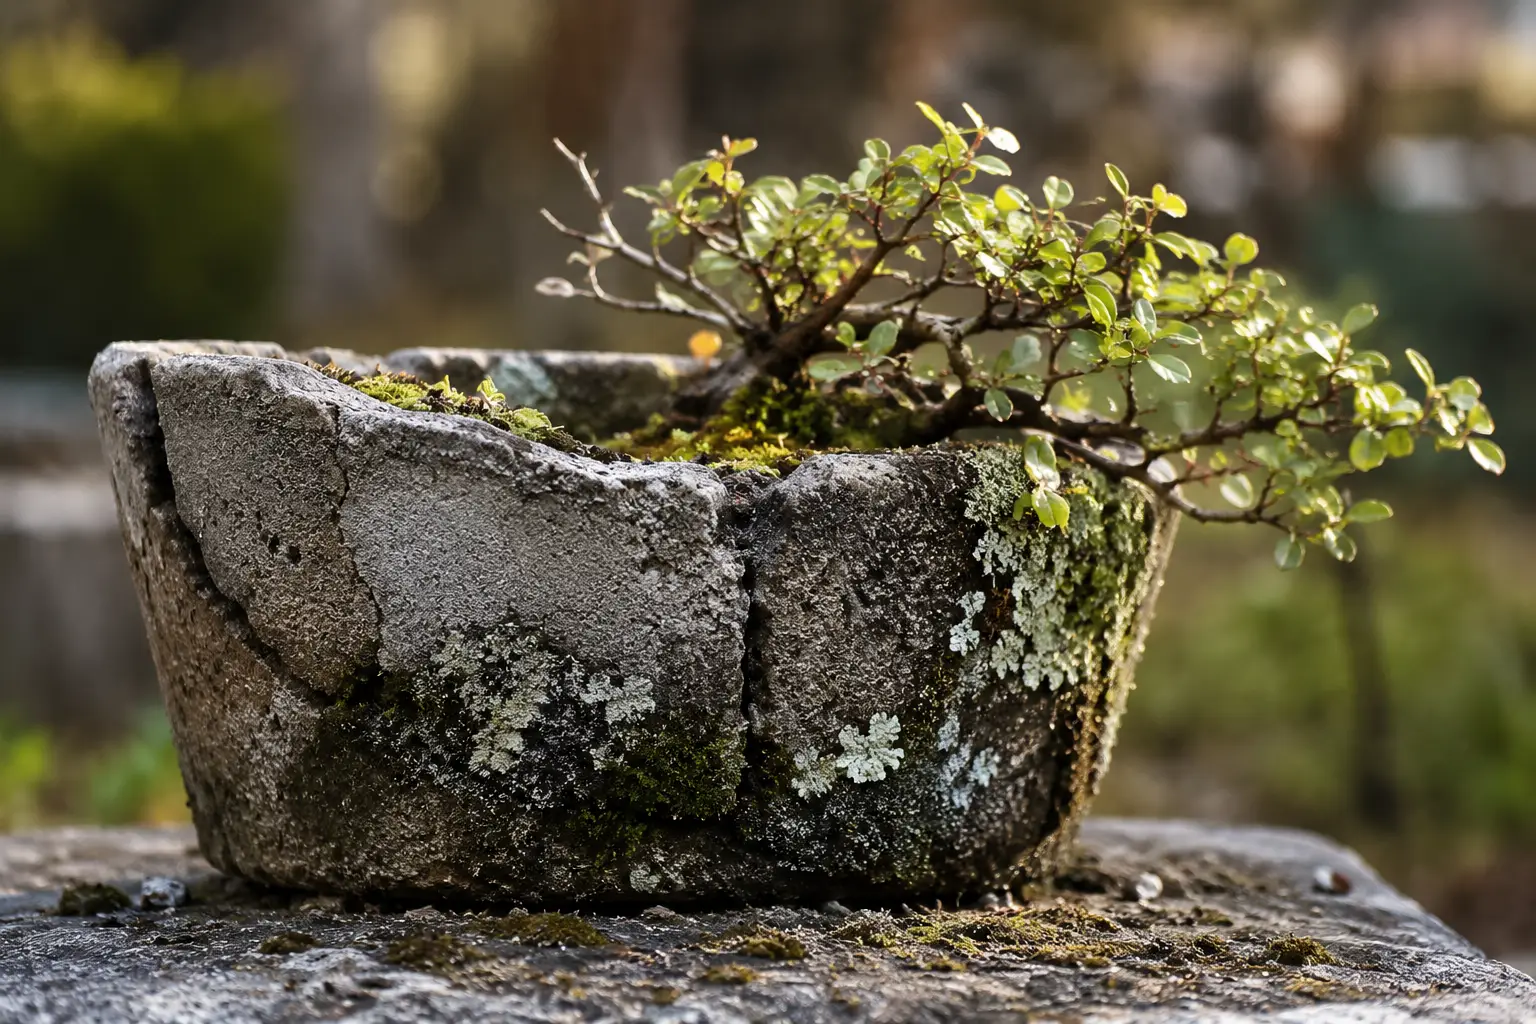
Let the Material Finish the Story
No tool truly creates the final texture.
Rain does.
Sunlight does.
Moss does.
Winter certainly does.
Years after leaving the workshop, every hypertufa pot continues changing.
That’s why I never try to finish every detail.
I leave something for time to complete.
And in my experience…
Time is often the best tool in the workshop.