The Complete Step-by-Step Guide
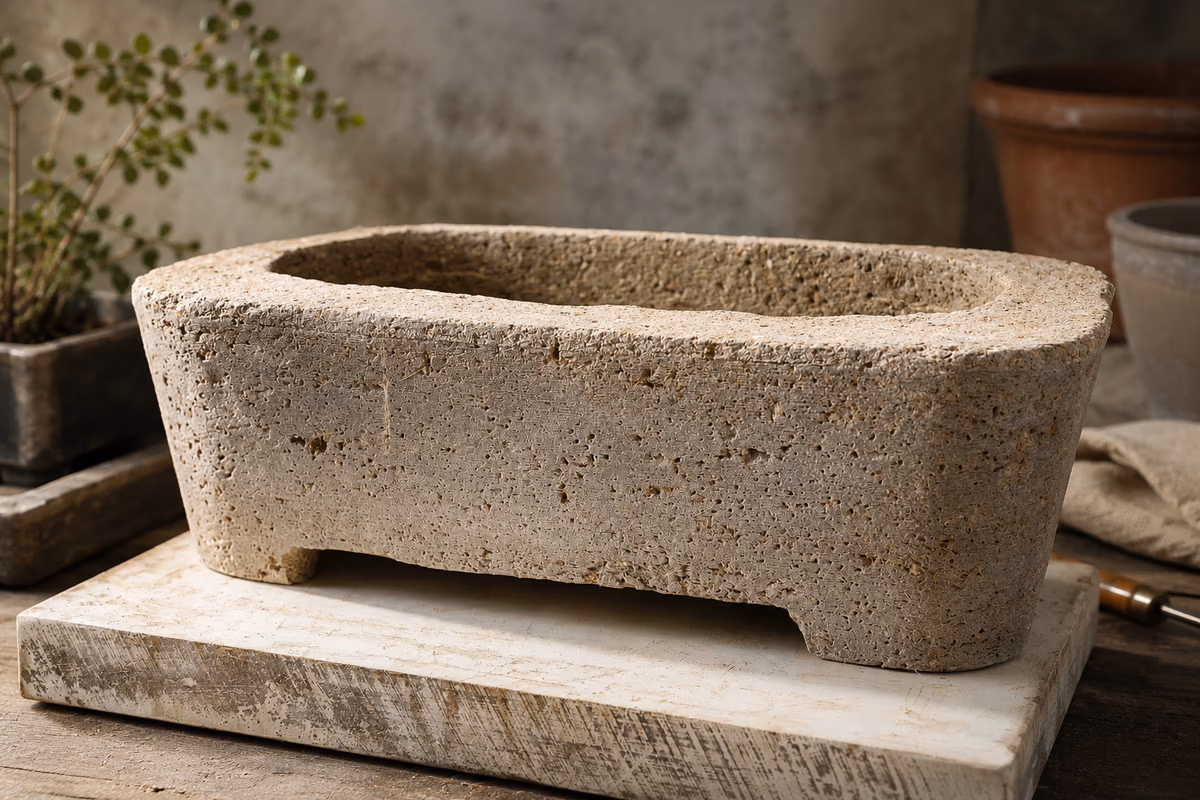
Hypertufa is a lightweight, porous material that has become a favorite among gardeners and artisans. It offers the natural look of stone while being easier to shape by hand and more suitable for plants.
In this guide, I’ll walk you through the complete process of making a hypertufa pot — from mixing the materials to curing and preparing it for planting — using simple techniques that respect the material and the rhythm of handmade work.
What Is Hypertufa?
Hypertufa is a mix of cement and lightweight aggregates such as peat moss or coconut coir and perlite. Unlike standard concrete, hypertufa is designed to be porous, allowing air and moisture to pass through — which makes it ideal for garden planters.
Many people compare hypertufa to concrete, but the two behave very differently over time.
👉 Internal link: hypertufa vs concrete
Materials You’ll Need
Before starting, gather all your materials and tools. Preparing everything in advance makes the process smoother and safer.
Basic materials
Portland cement
Peat moss or coconut coir
Perlite
Water
Optional
Gloves and dust mask
Plastic sheet or drop cloth
Measuring container
If you’d like a detailed breakdown of tools and safety tips, you can find them here:
👉 Internal link: tools you need for making hypertufa planters
Mixing the Hypertufa
A simple and reliable ratio is:
1 part Portland cement
1.5 parts peat moss or coconut coir
1.5 parts perlite
Mix the dry ingredients thoroughly before adding water slowly. The final texture should resemble thick cottage cheese — moist enough to hold together, but not soupy.
Take your time here. The quality of the mix affects everything that comes after.
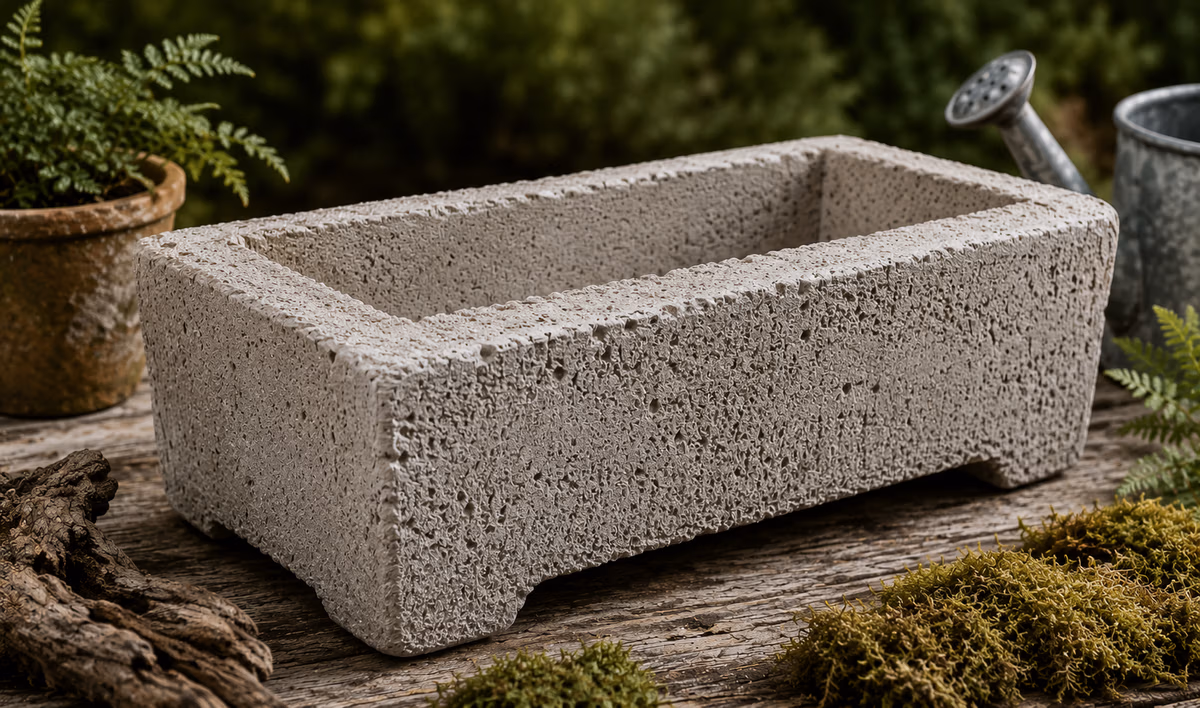
Shaping the Pot
Choose a mold, bowl, or free-form shape depending on the look you want. Line molds with plastic if needed.
Press the mix firmly into place, making sure there are no air pockets. Create a drainage hole at the bottom using your finger or a dowel.
This is also when you begin thinking about the character of the pot — rough, organic, smooth, or deeply textured.
Creating Texture by Hand
Once the pot is shaped and has begun to firm up, the surface becomes workable. This is the moment when texture truly comes to life.
You can carve, scrape, press stones, or shape the surface with simple hand tools. Texture is not decoration — it’s part of the identity of the piece.
For a deeper look at this stage, see:
👉 Internal link: create texture on hypertufa by hand
Initial Curing
After shaping, cover the pot loosely with plastic and place it in a shaded, well-ventilated area.
Keep it slightly damp for about 7 days
This slow curing allows the cement to gain strength without cracking
After this period, uncover the pot and let it air-dry for another 7 days.
Curing and pH Neutralization
Because hypertufa contains cement, it is naturally alkaline. Reducing this alkalinity is essential before planting.
Natural pH reduction (recommended first)
Start with the simplest method.
Submerge the pot in plain water for several days, changing the water daily if possible. This helps leach out excess lime naturally and is often enough on its own.
This slow process is gentle on the surface and ideal for handmade garden planters.
Optional vinegar bath (short and gentle)
If the water remains highly alkaline after soaking, a short vinegar bath can help.
Use:
1 part white vinegar
10 parts water
Soak the pot for 1 to 2 hours only.
⚠️ This step is optional. Longer or stronger vinegar treatments may affect the surface texture you carefully created.
After the vinegar bath, rinse the pot thoroughly several times with clean water to remove any remaining acidity.
When Is the Pot Ready?
Your hypertufa pot is ready when:
soaking water no longer shows strong alkalinity
the surface feels firm and stable
there is no chalky residue
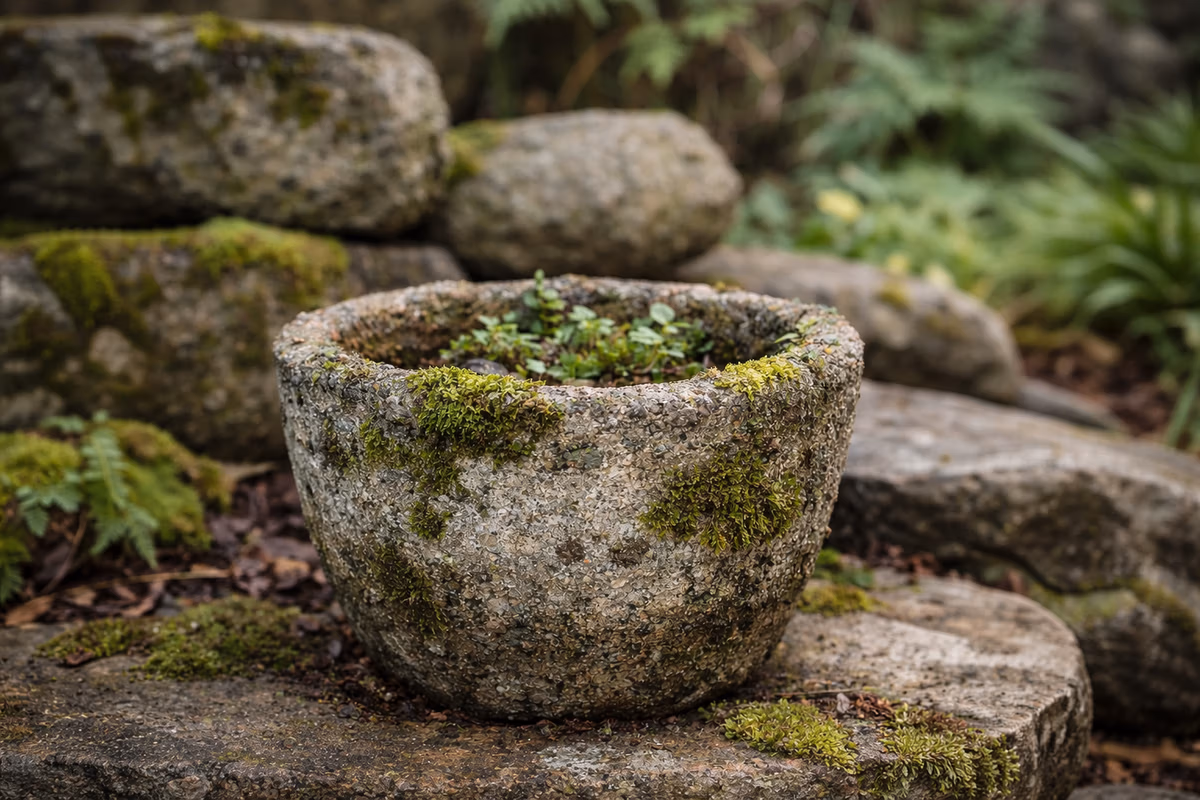
At this stage, hypertufa behaves very differently from mass-produced concrete and becomes a safe, breathable home for plants.
Before Planting
Once cured and neutralized, your pot is ready for soil and plants.
Choose a well-draining soil mix suited to your plants, especially for succulents or alpine species. Proper drainage and airflow are what make hypertufa such a good material for garden use.
Final Thoughts
Making a hypertufa pot is not about speed or perfection. It’s about understanding the material, respecting curing time, and letting the piece develop its own character.
Each handmade pot carries the marks of the process — and that’s exactly what makes it unique.